It’s really nice to ride a motorcycle on a cool day. However, there’s a fine line between the ideal temperature and cold fingers. Most motorcycles offer little protection from the wind for your hands. Your fingers are the first to feel the chill. Some manufacturers offer heated grips as standard on adventure and touring models. For other motorcycles, there is a very effective, simple, and inexpensive solution: installing aftermarket heated grips.
To start, it’s important to choose grips that are right for your motorcycle and your needs.
Next, install them securely on the handlebars and connect them to a reliable power source.
Finally, check that they are working properly, and I’ll take this opportunity to analyze them.
Choosing heated grips.
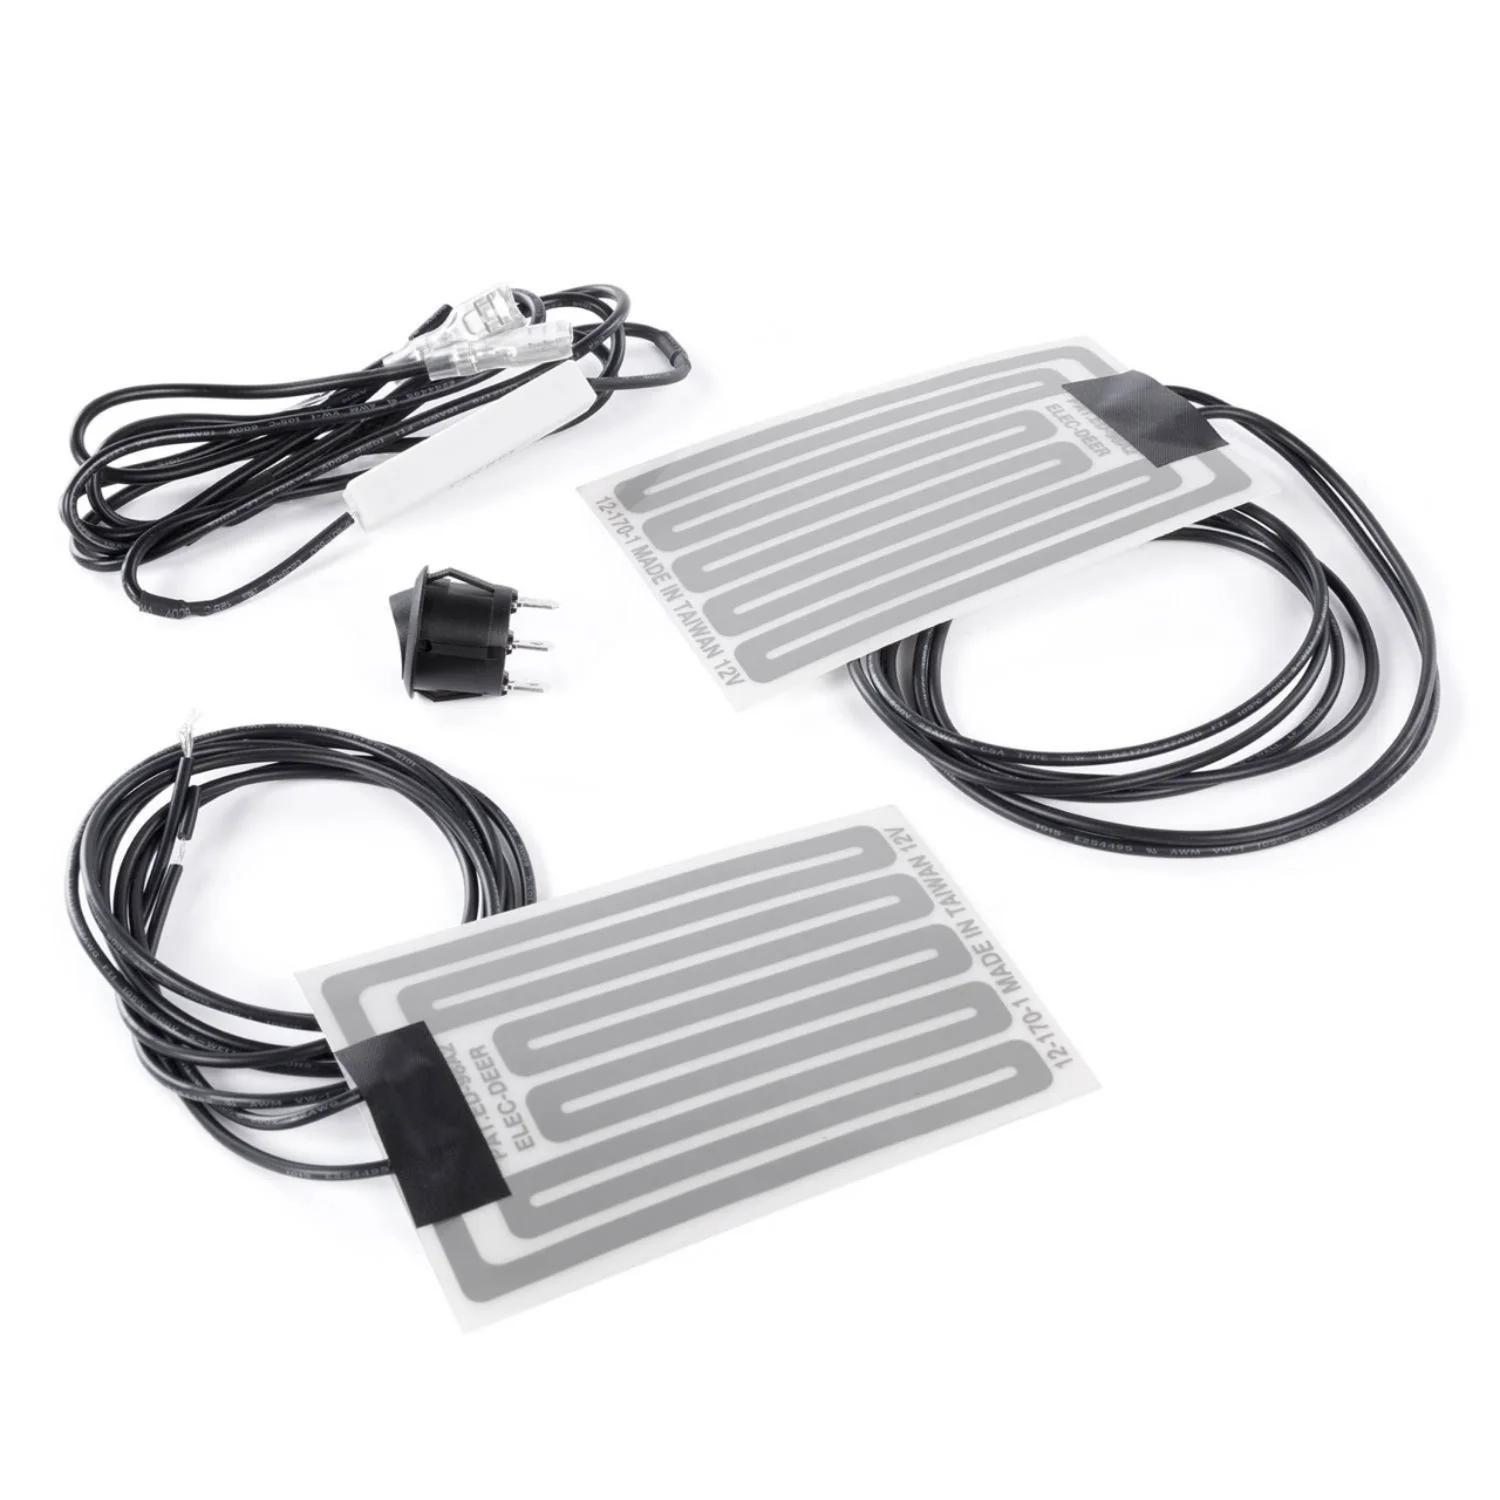
Heated grips are not universal. It is important to know the diameter of your handlebar tube and the length of your grips. Motorcycles generally have a handlebar diameter of 25 millimeters. The length of the grips varies between 120 and 132 millimeters. With this information, you can choose the heated grips that are right for your motorcycle. Heated grips come in two types. The first is a complete heated grip, and the second is a heated adhesive tape that allows you to keep the original grips on your motorcycle. The second type is less expensive, but installation is more complex and the risk of malfunction is much greater.
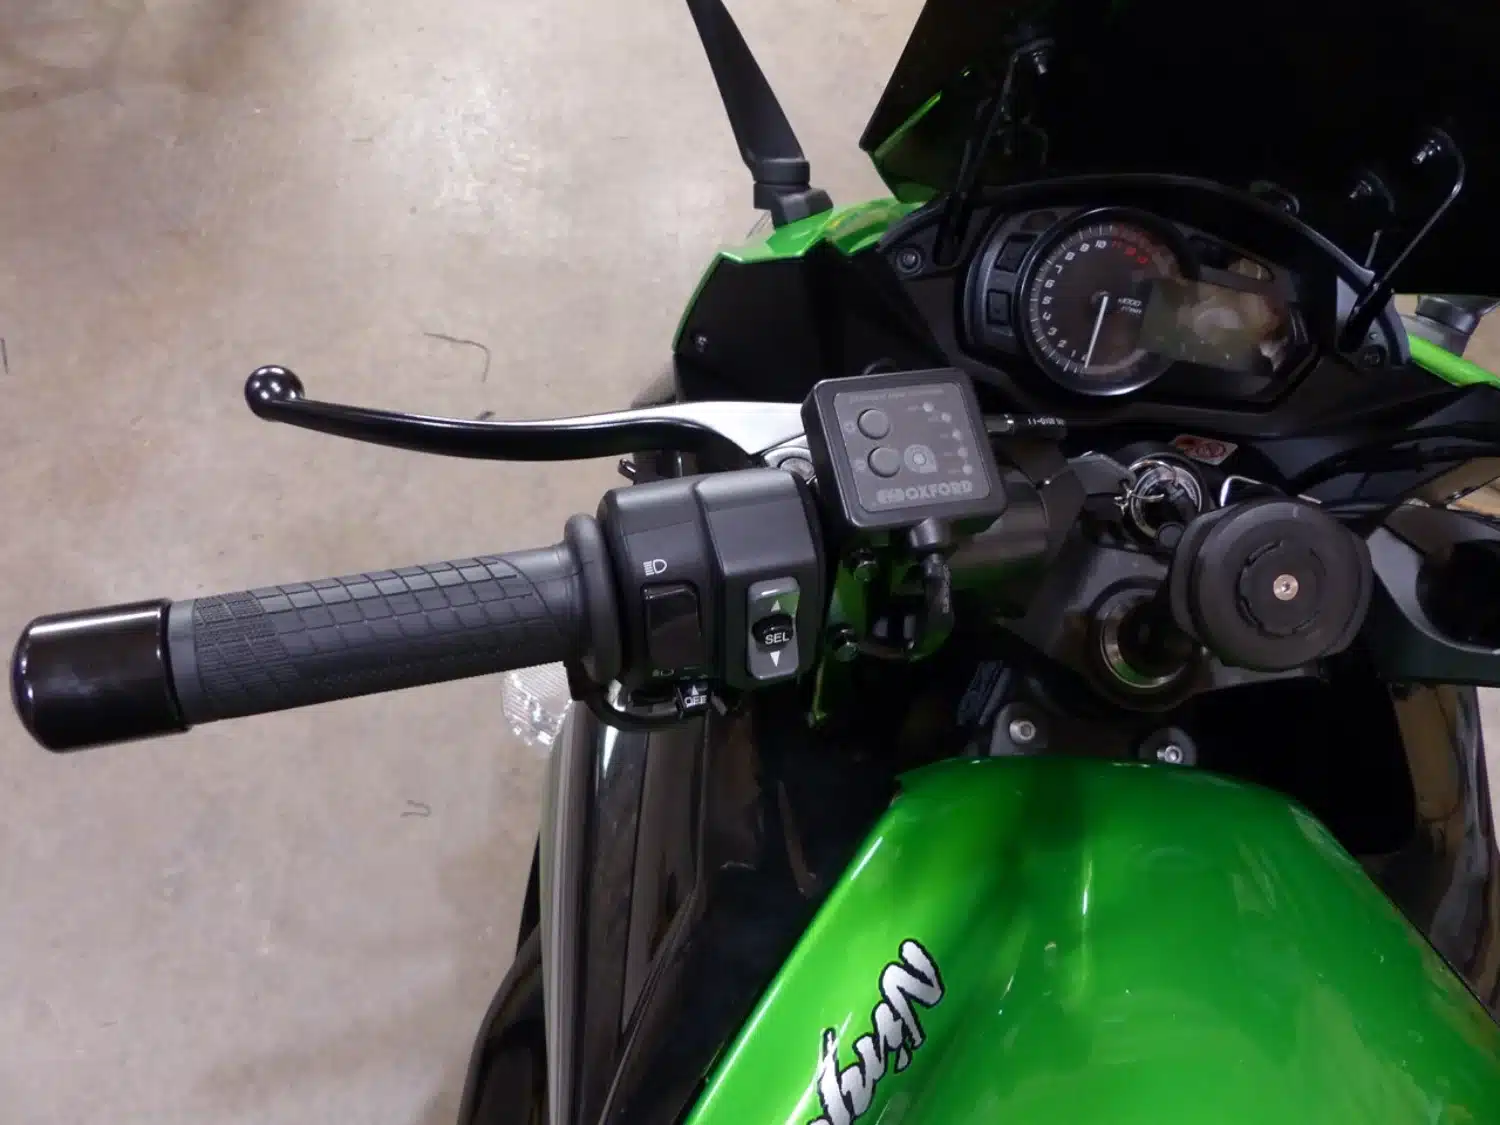
In this case, the handle chosen is manufactured by Oxford, model 269949, which is distributed by Kimpex.
Installation.
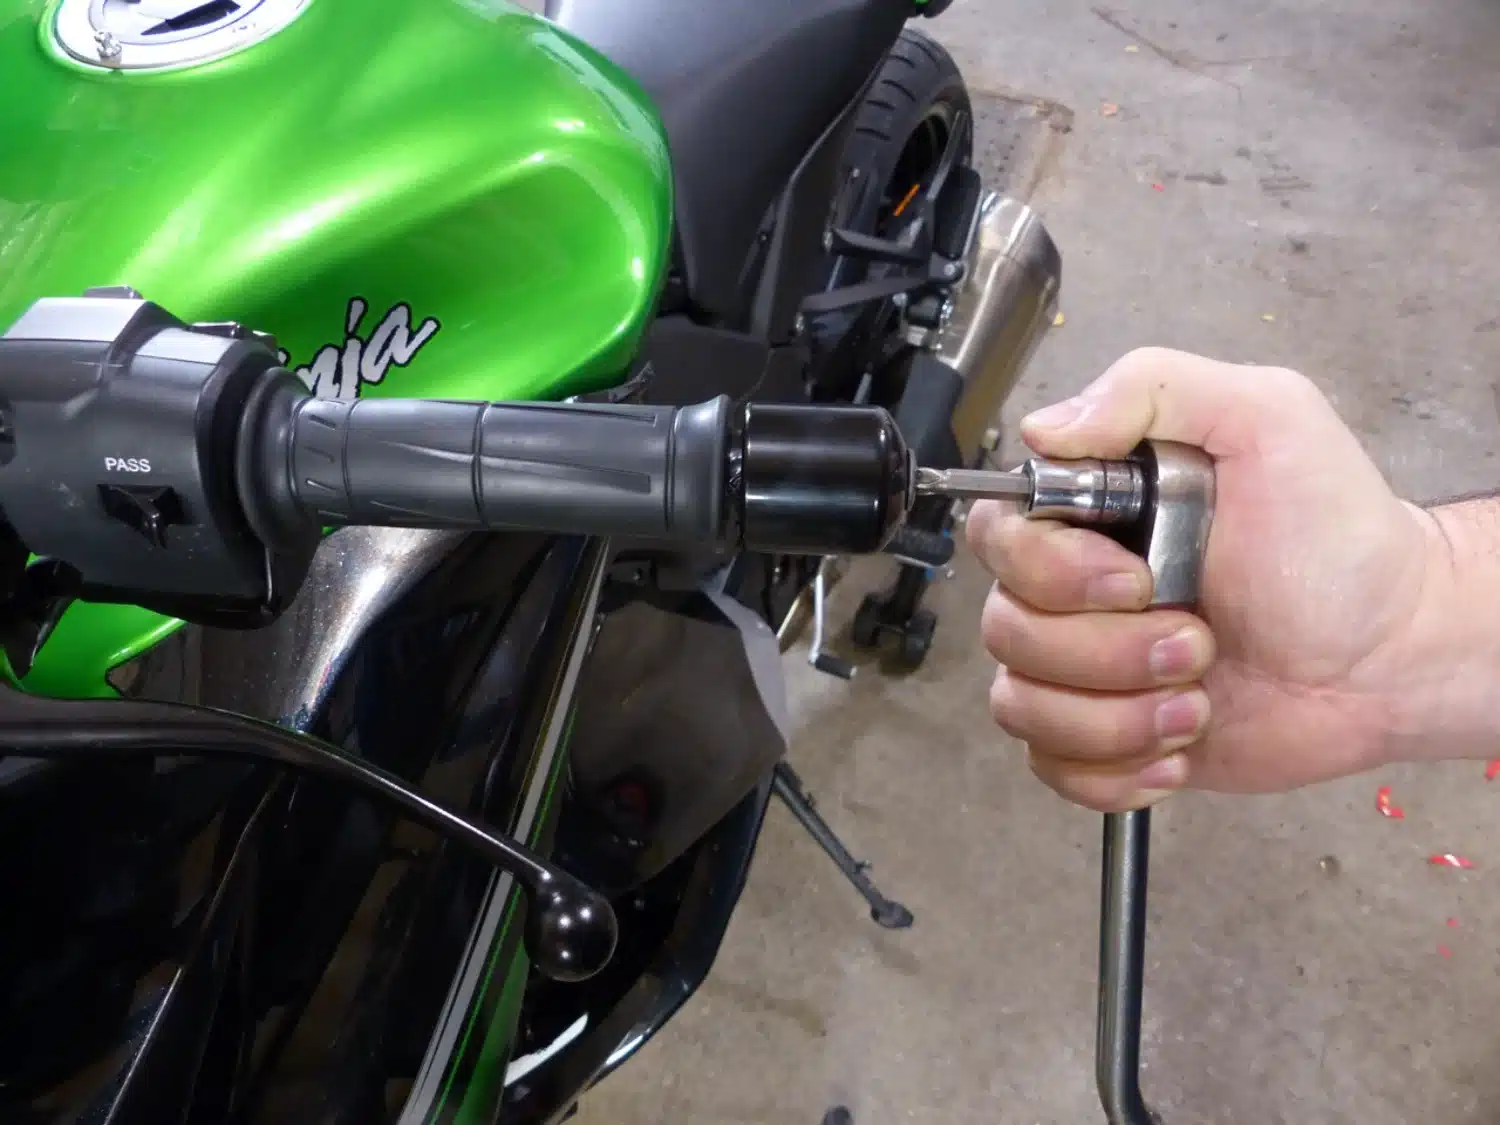
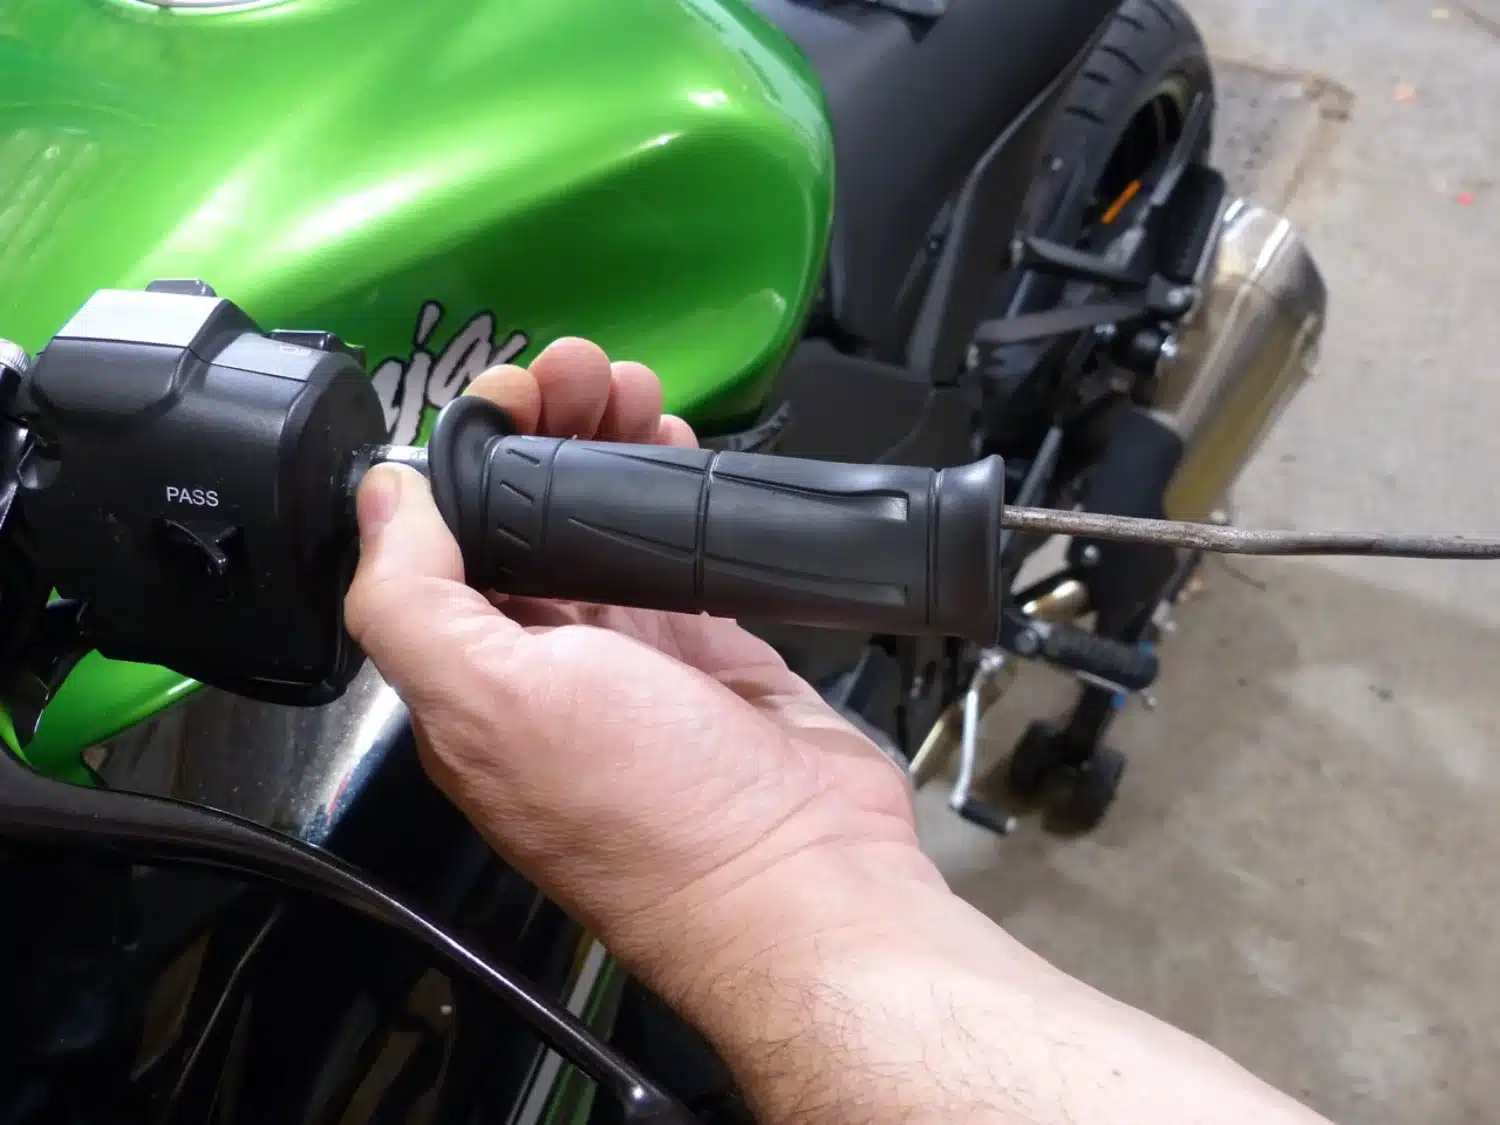
To begin, protect the gas tank with a cover. Remove the handlebar end caps. Next, remove the original grips by injecting compressed air between the handlebar and the rubber grip. This inflates the grip and makes it easier to remove. However, if compressed air is not available, simply cut the grip along its length.
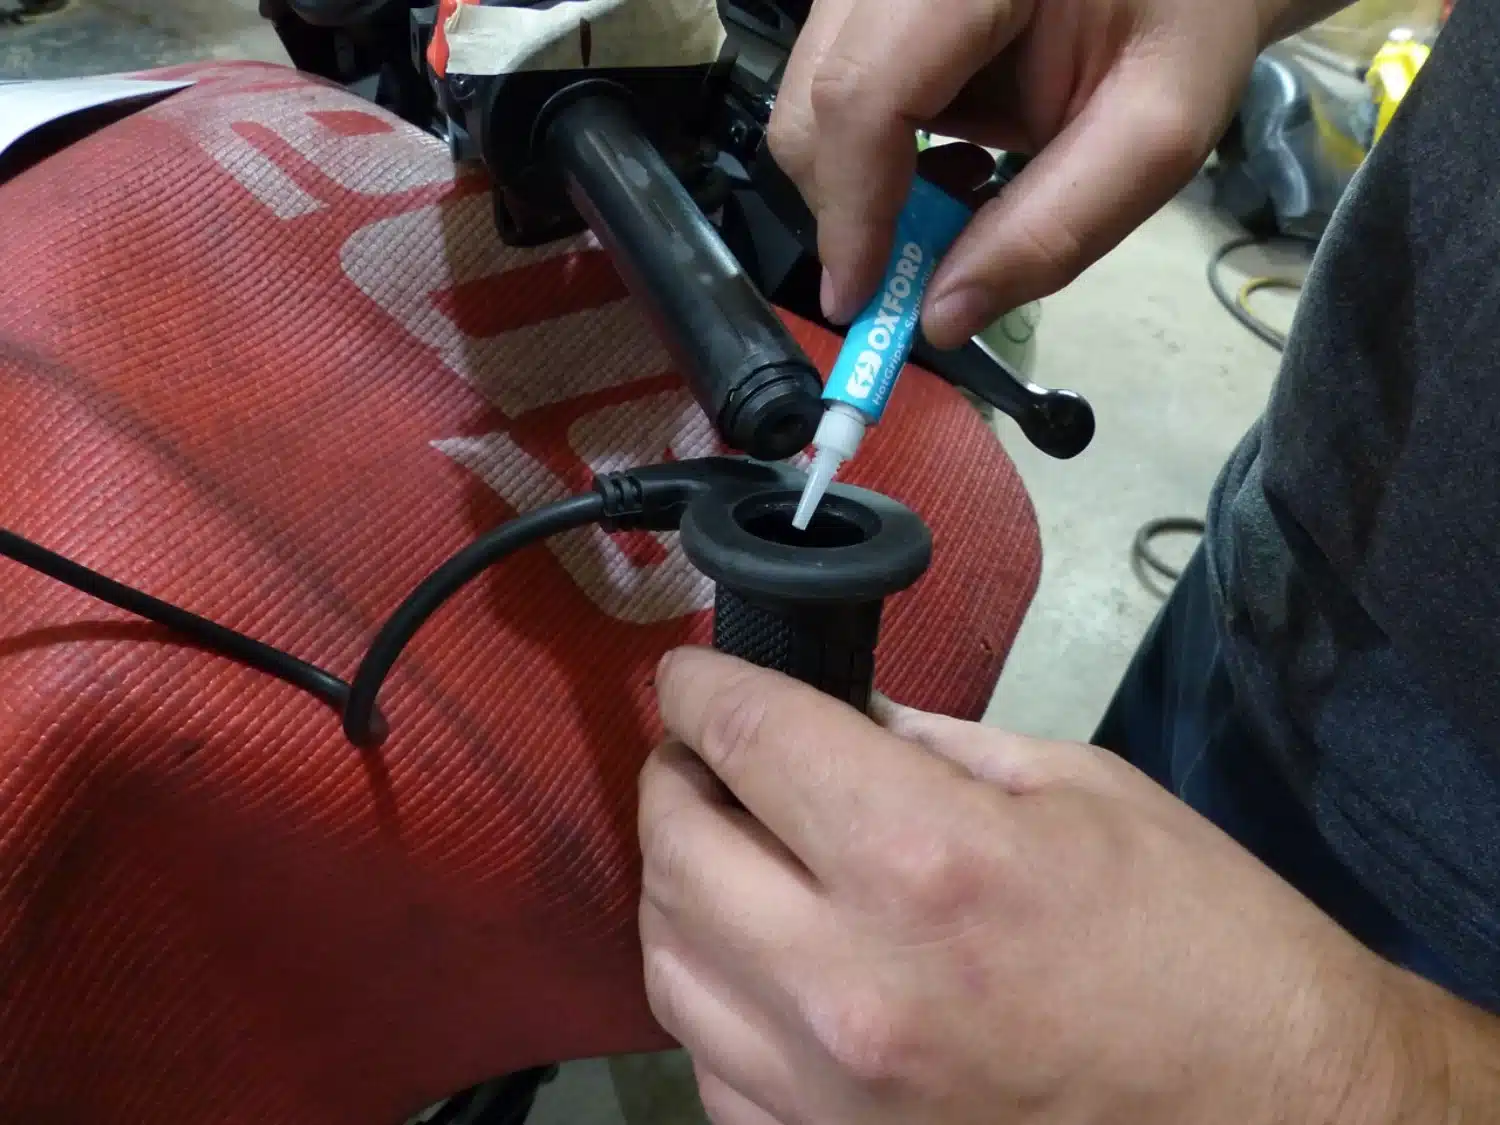
The new grips are glued to the handlebars. It is therefore important to thoroughly clean the surface of the handlebars where the new grips will be attached. Use brake cleaner or rubbing alcohol. Be careful not to damage the aesthetic surfaces of the motorcycle with these products. Check and mark the position of the grips so that the power cable does not interfere with the movement of the clutch, brake, and throttle levers. Put a few drops of the glue supplied with the grip set inside the grip. Do not use too much glue.
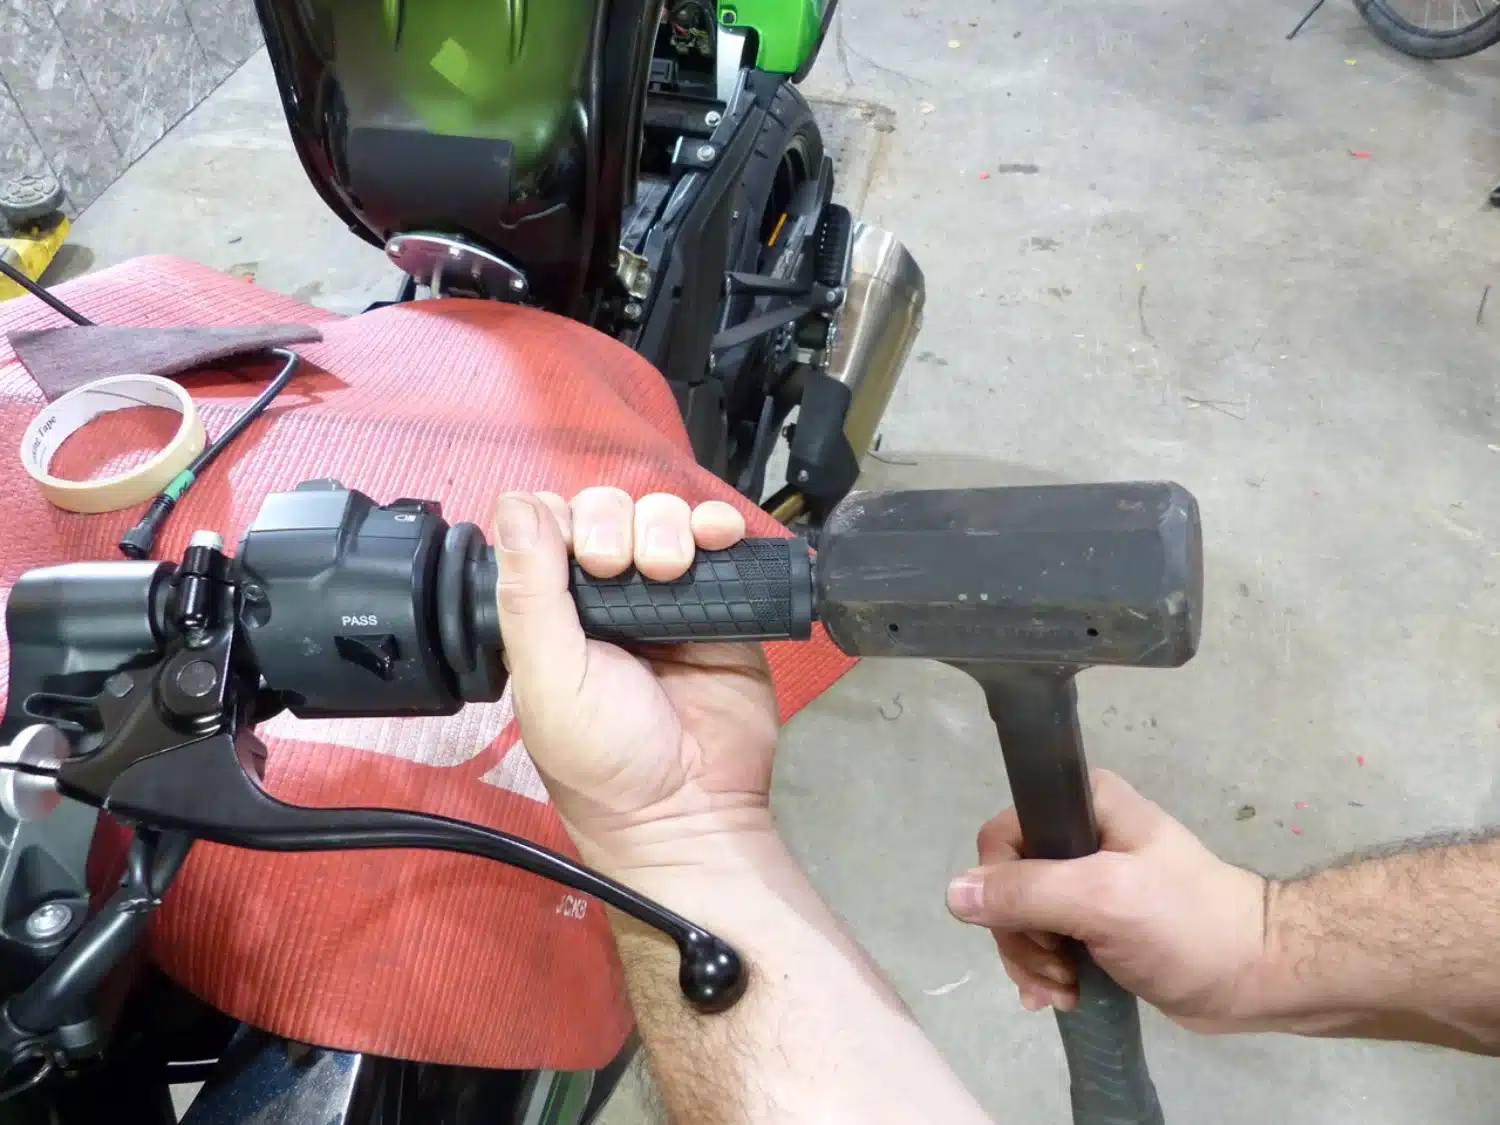
Quickly insert the handlebar grip onto the handlebars up to the mark you made before the glue sets. You may need to use a soft mallet.
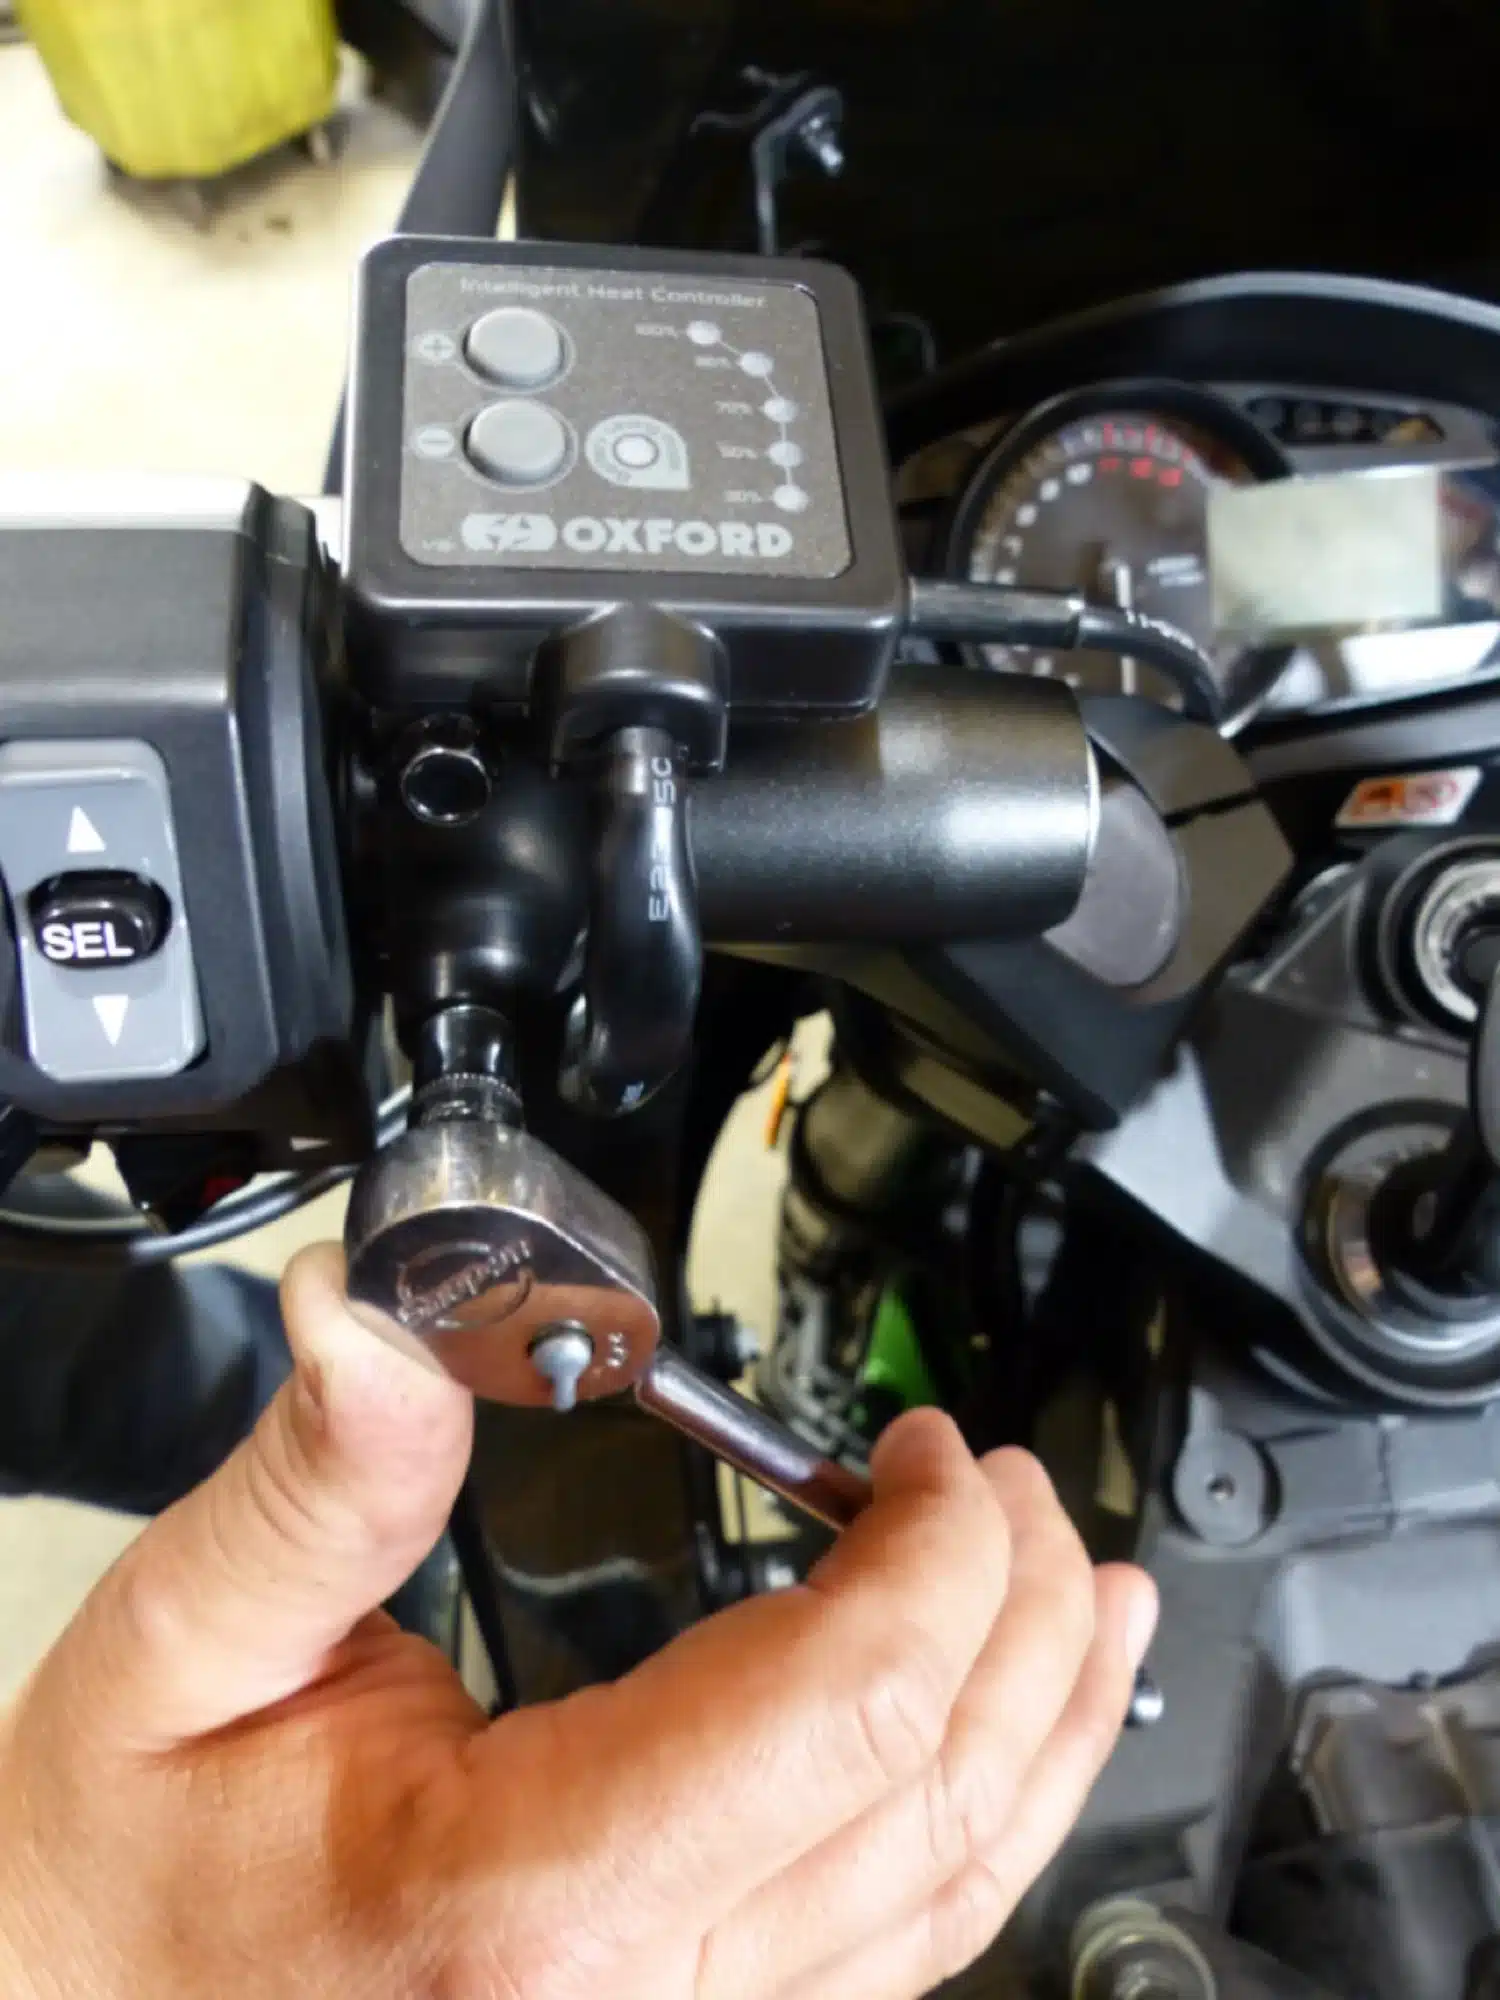
Install the handlebar controls on your clutch control bracket. A bracket is included in the Oxford kit.
Route the wiring harnesses towards the battery so that they do not interfere with the movement of the handlebars. Leave enough length of electrical wire on the throttle side so that it can move smoothly.
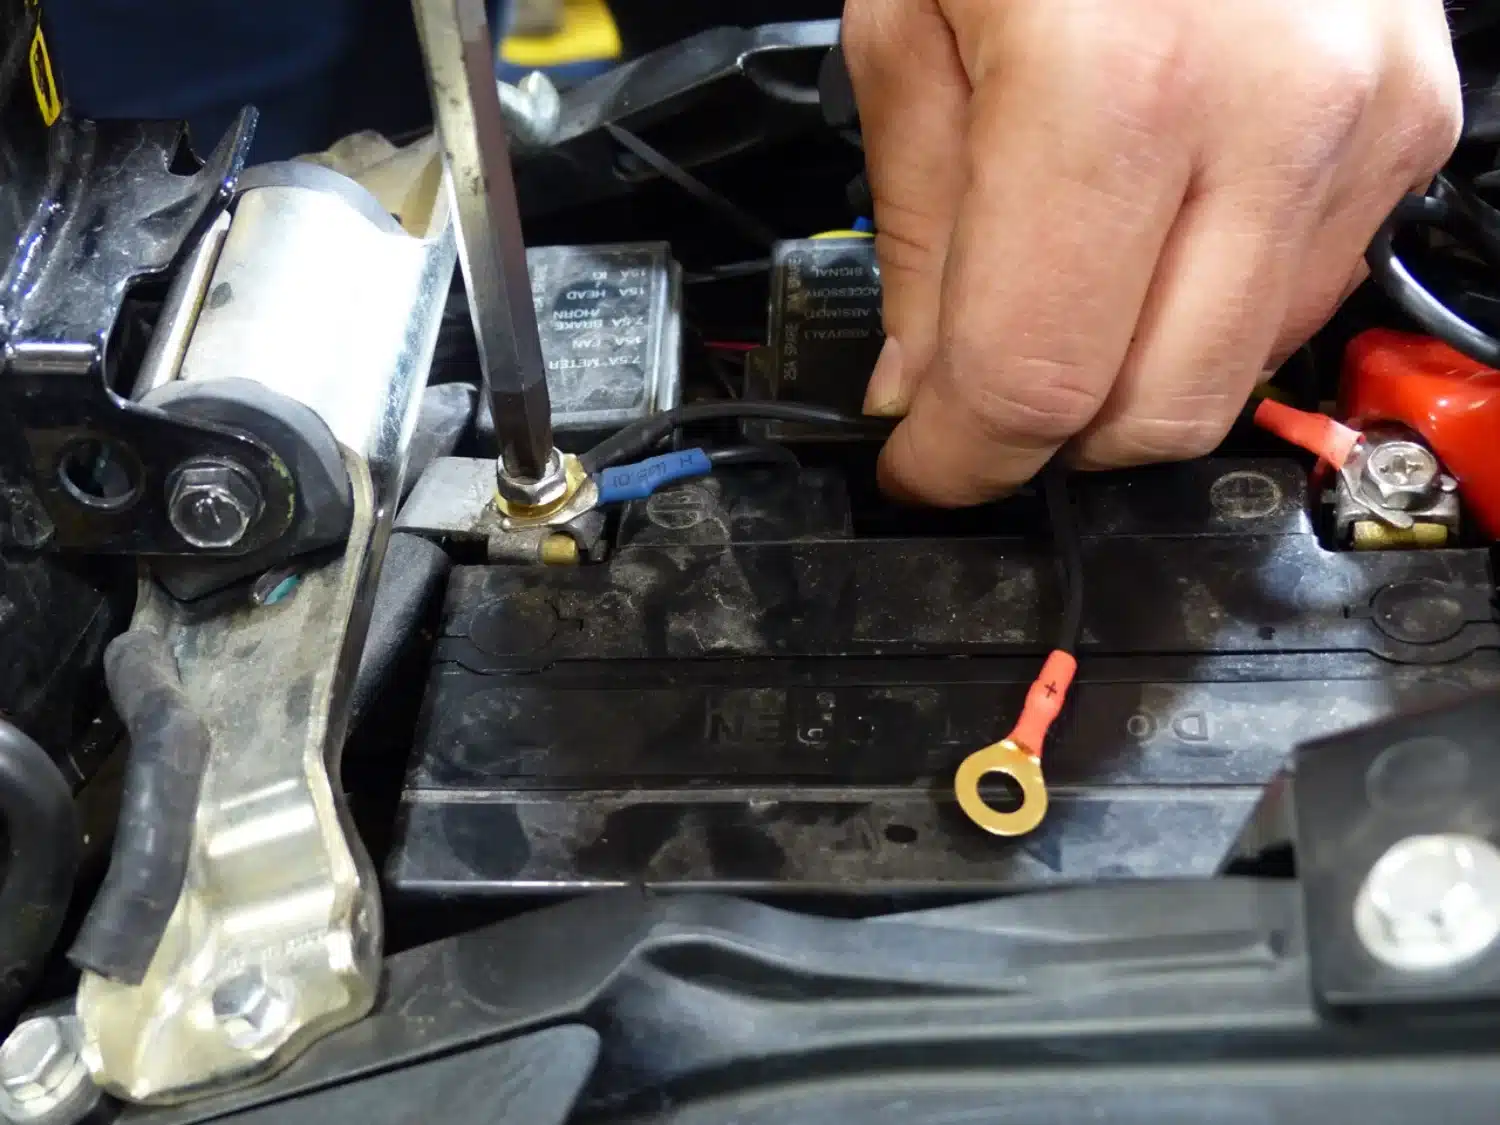
Connect the power wires to the battery.
Finally, check that everything is working!
Analysis of Oxford heated grips.
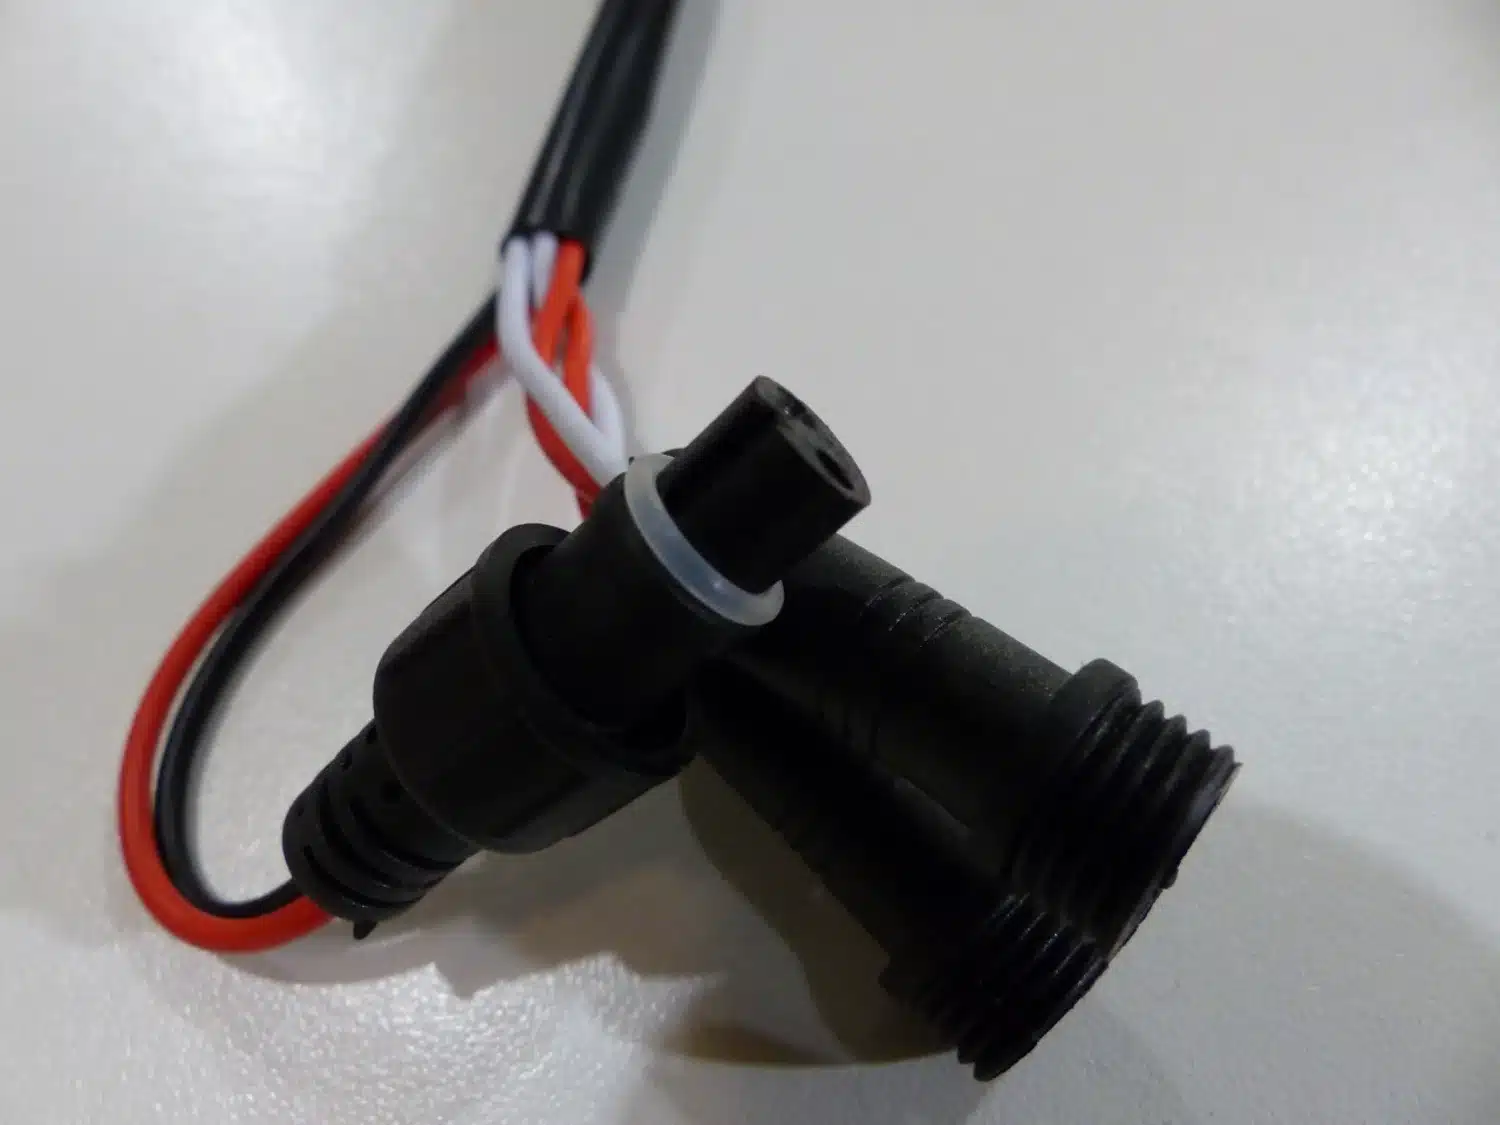
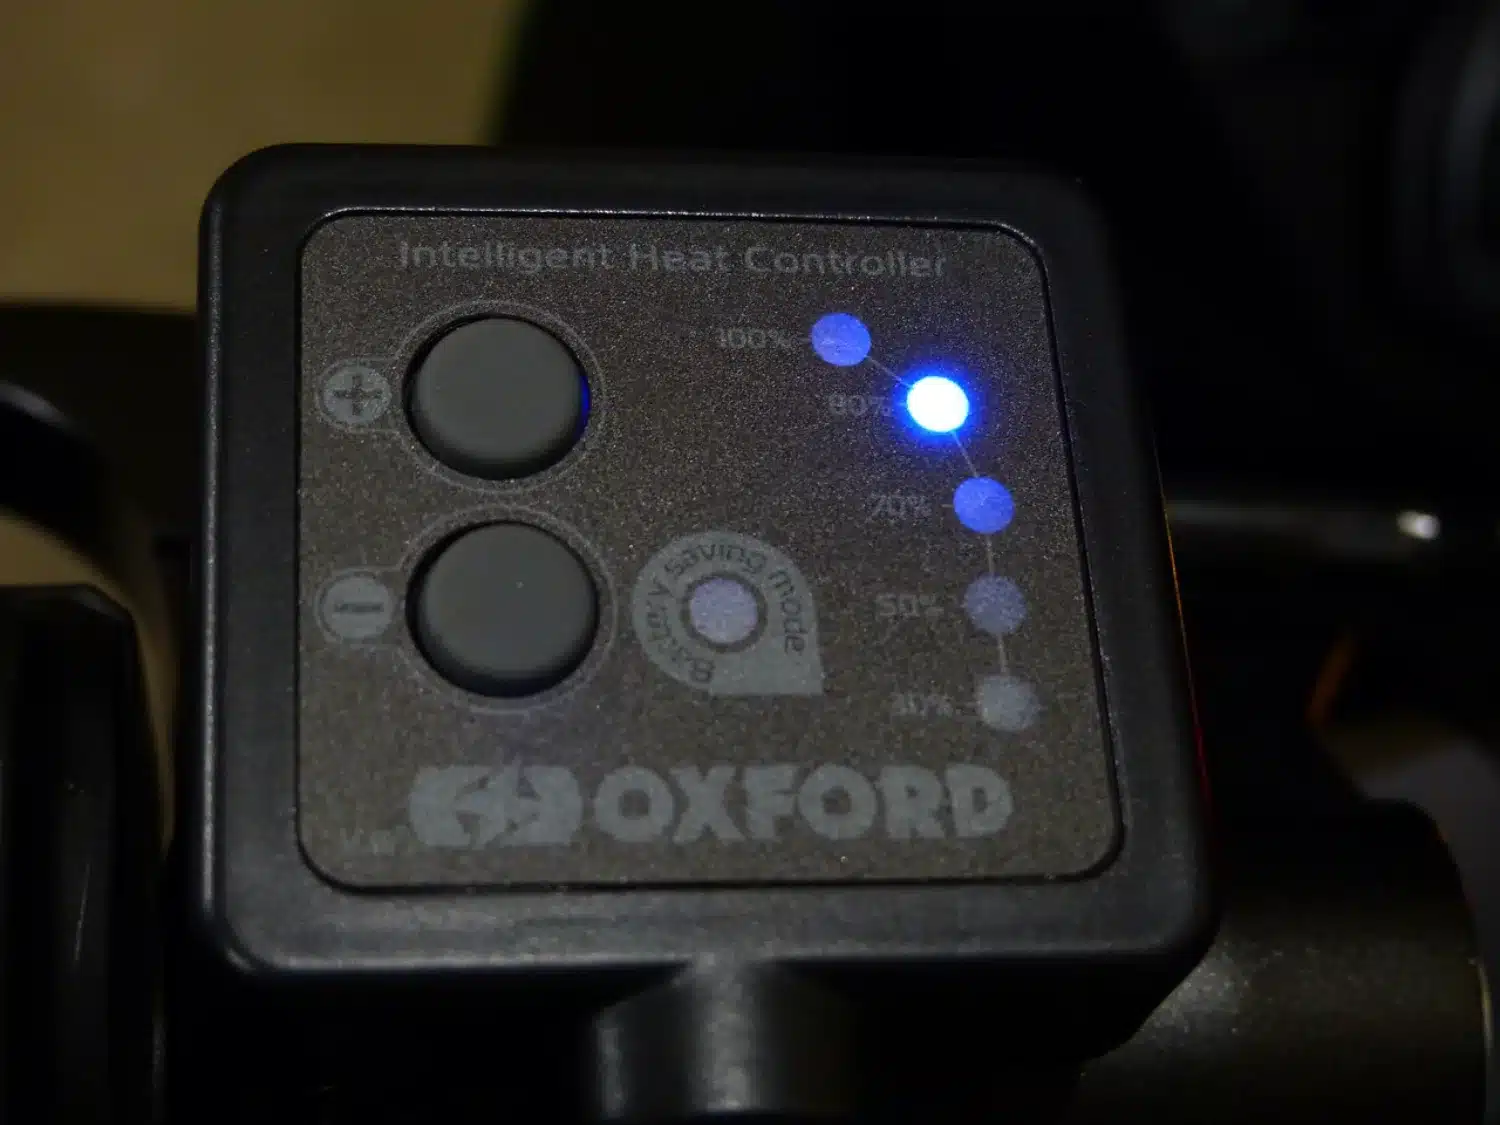
The Oxford heated grip set is very complete. The calculated power indicates adequate performance. With the motorcycle engine running, the available voltage is 13.5 volts. The current consumed by the grips is 3.83 amps. Therefore, according to the power law calculation, V * A= Watts. So, 13.5 Volts * 3.83 Amps = 51.70 Watts, which is very good. The electrical harness connections are waterproof thanks to an O-ring, which will prevent failures caused by oxidation of the wiring. The lengths of each wire provide the necessary flexibility to route them cleanly to the battery. Finally, one of the best features of this kit is the smart controller, which can be connected directly to your mount’s battery without fear of damaging it if left in the on position. The controller detects the battery charge status and whether the motor has been turned off. If either situation is detected, the controller will go into standby mode and consume only 0.033 amps. If the situation persists for approximately five minutes, the system will shut down completely and consume a minimal 0.000071 amps.
What we liked.
- Relatively simple installation
- Pleasant handle design
- Waterproof connections
- Smart controller
- Adequate performance
- Controller blends in well with the modern look
What we would have liked.
- Less bulky wiring on the handles
- More discreet wiring on the controller