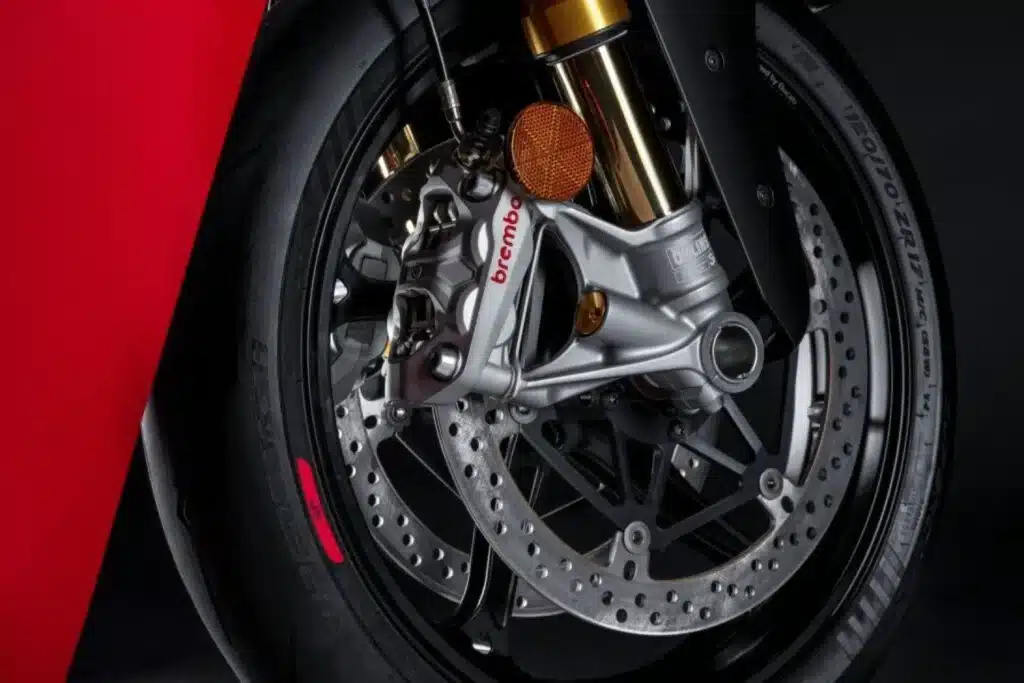
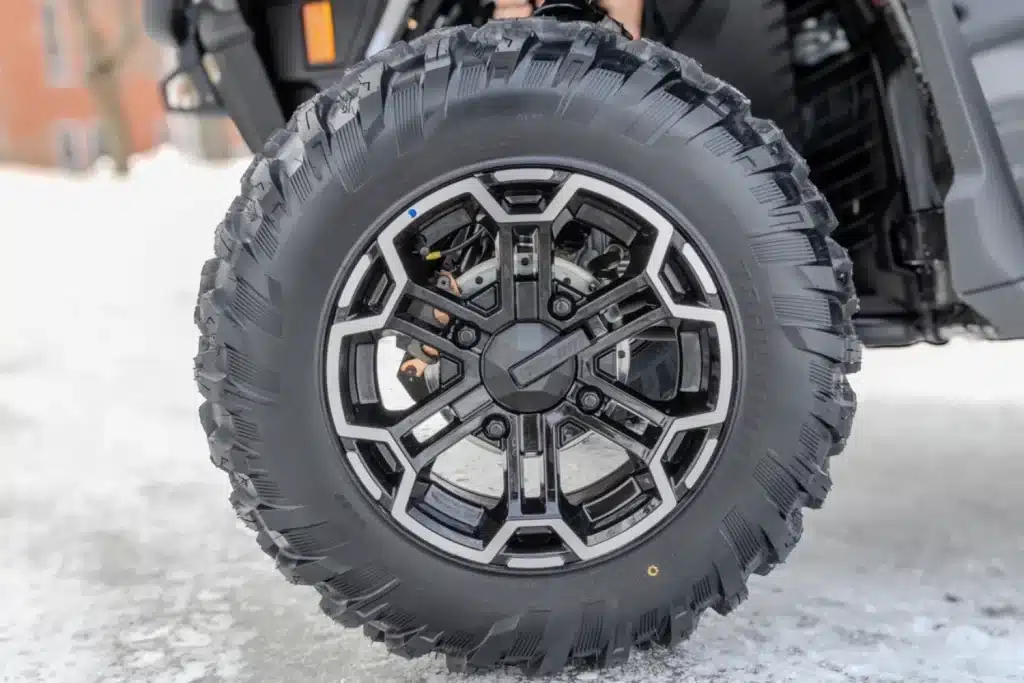
Of all the unforeseen things that can happen when off-roading, flat tires are probably one of the most common. Indeed, given that we’re largely off public roads, there are generally more objects littering the ground that can damage tires: nails, rocks, railroad spikes. In short, anything sharp and/or spiky.
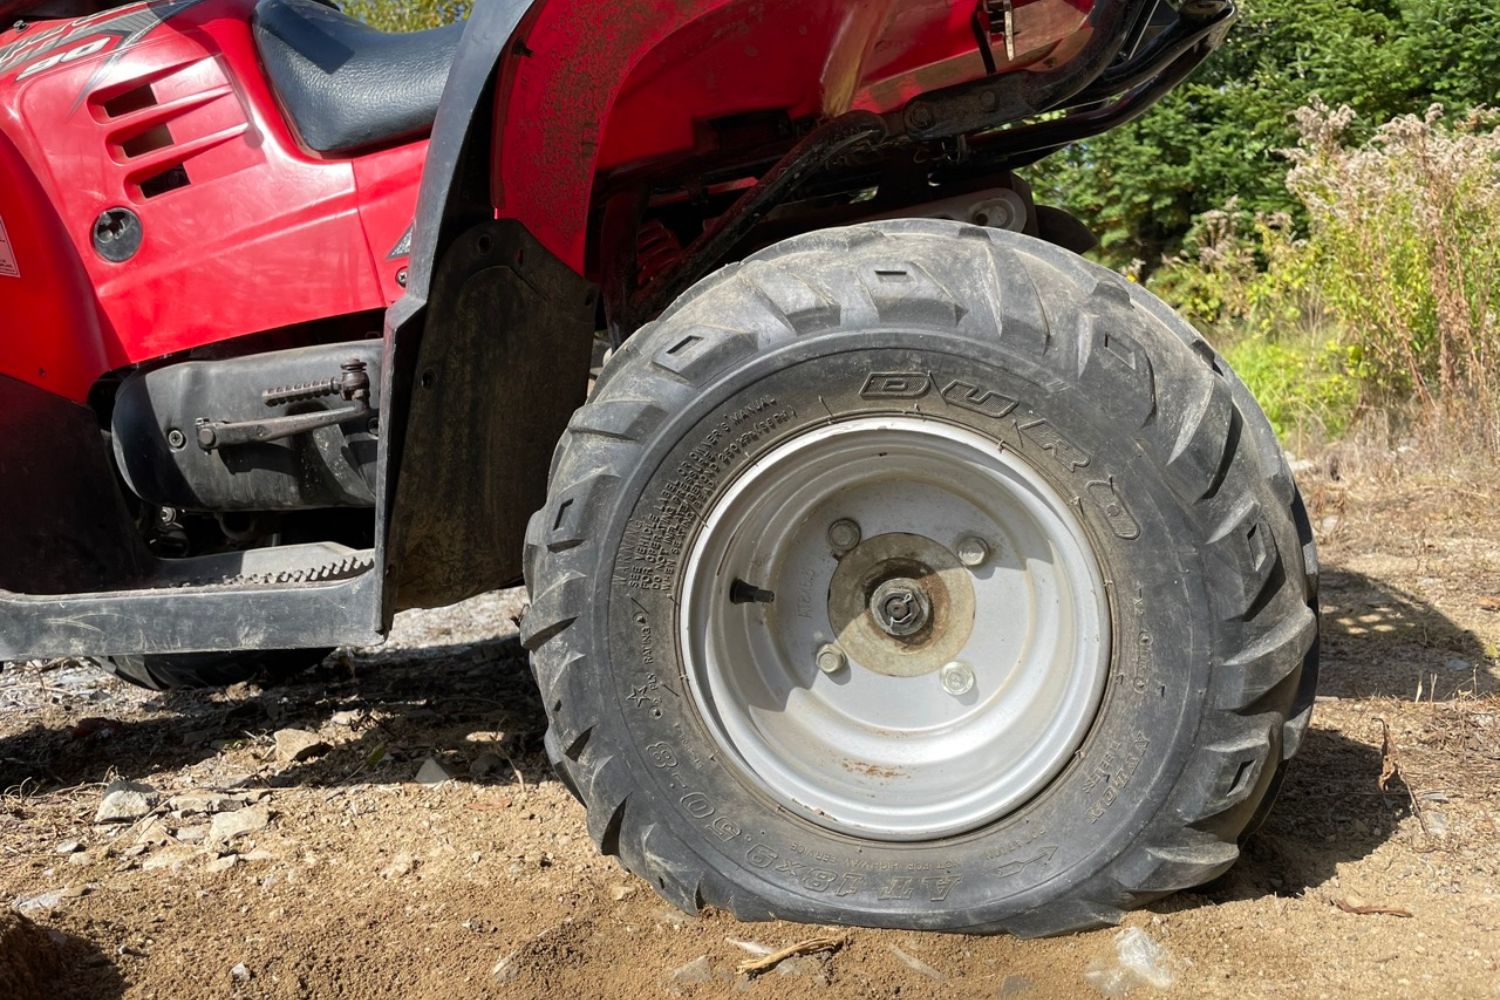
Towing services don’t usually go out on the trails to assist people with mechanical problems. As a result, it’s highly recommended to equip yourself with tools, including those for repairing punctures.
Nowadays, there are several solutions on the market for patching tire holes. The main objective is to get you to your destination. So, we’ll explore these different repair methods.
Puncture repair methods
Tire plugs
This is the most common, popular and versatile repair tool kit. The operation is performed from the outside of the tire. See this article to learn how to repair a puncture.
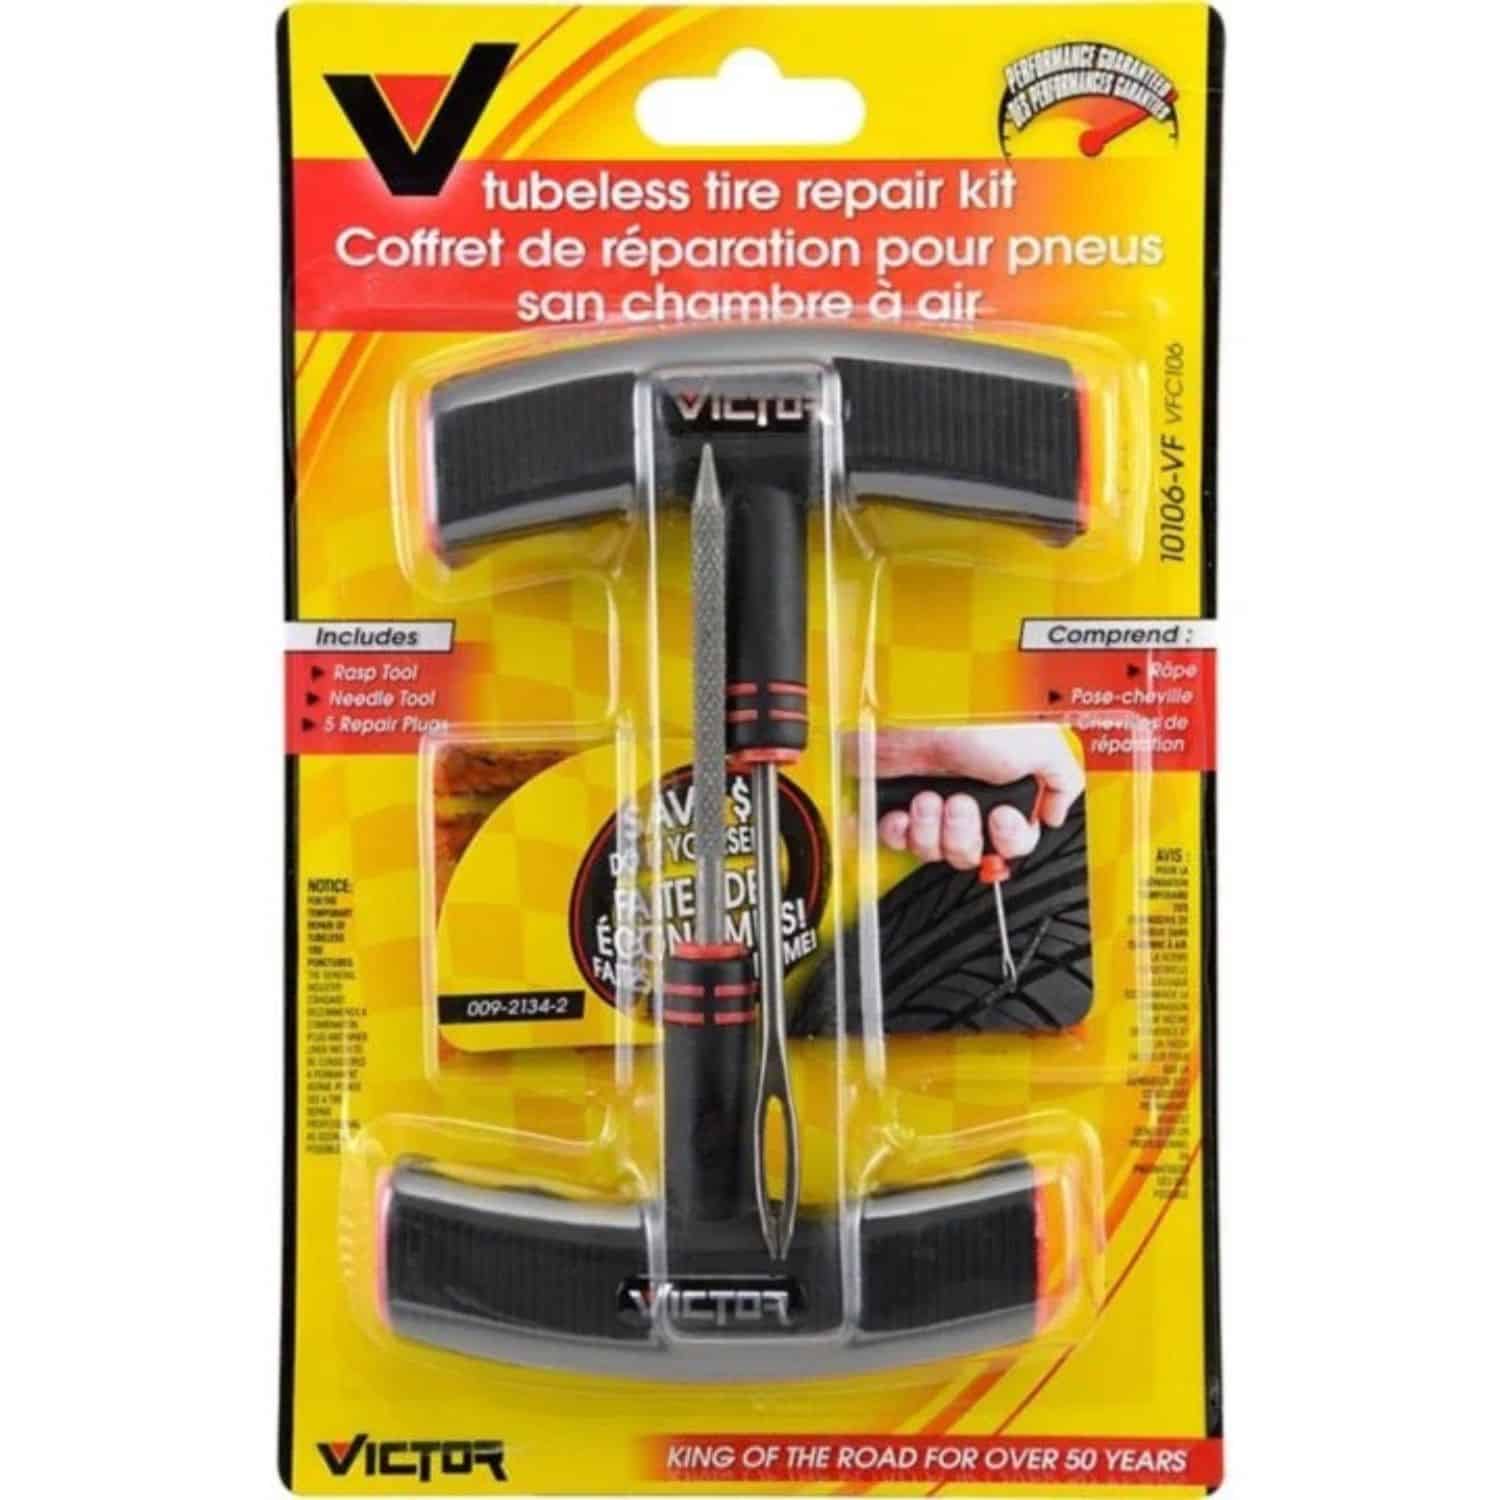
There are two main types of tire plug. The first are ropes coated with rubber material. Some are black, others are brown. It’s the same product, but the brown color makes it easier to locate the breakage. Some black models (this is less true today) may have a smaller diameter than the brown ones. The second is synthetic fibers coated with a gum ply. Its greatest advantage is that it conforms better to the shape of the hole during insertion.
It’s highly recommended to have at least twenty plugs. The idea is to be able to repair the most difficult punctures, i.e. irregular-shaped holes or cracks in the sidewall. Putting several plugs next to each other can often seal the tire long enough to get to the next destination, be it a house, a road or even the starting point.
They can repair punctures on both the top and side of the tire.
Inserter kit and mushroom patches
This kit generally contains an inserter gun, adapters according to the size of the puncture, a file, mushroom-shaped patches and a lubricant to facilitate insertion.
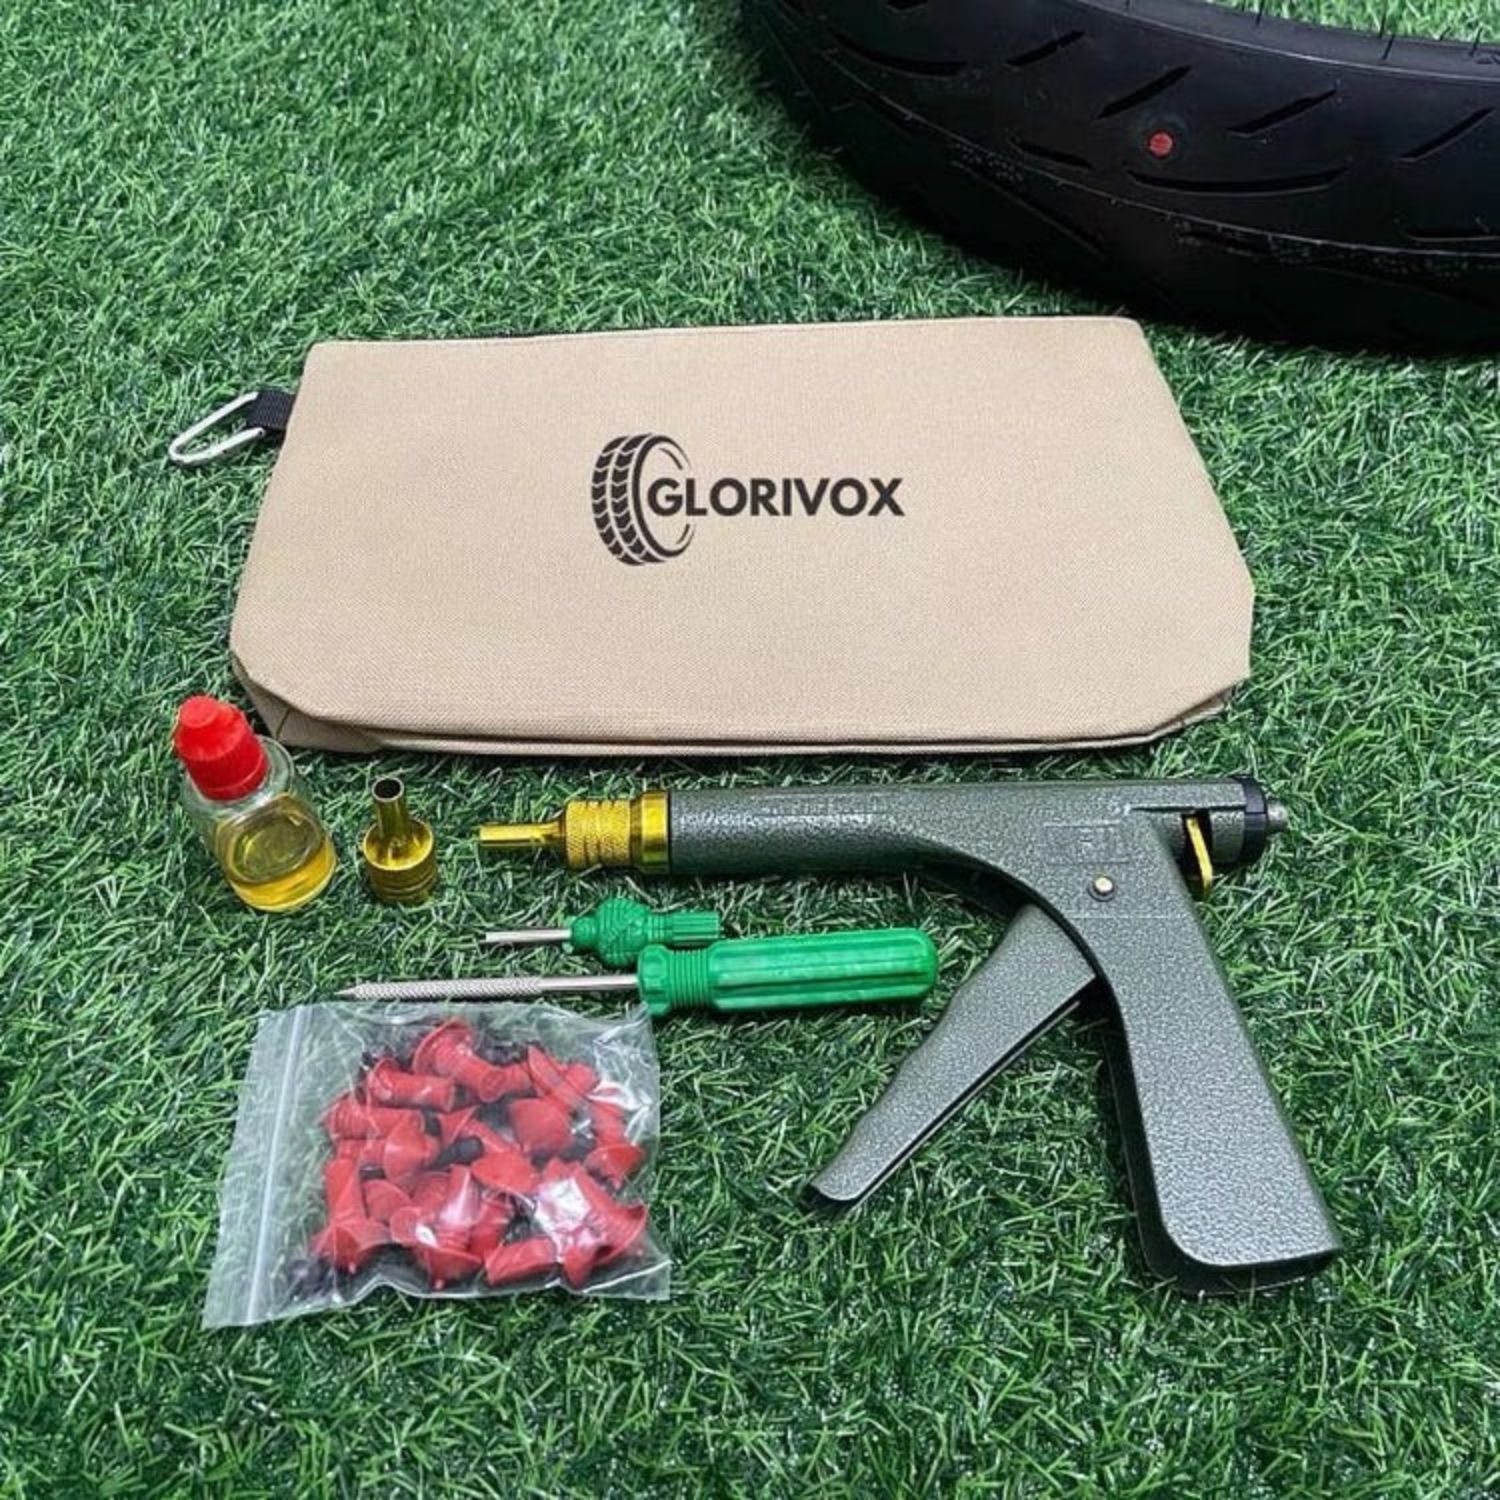
It’s the same principle as the plugs. First, locate the puncture. Next, file the hole to remove debris and make its shape more uniform. Then, insert a mushroom-shaped patch into the inserting tool and push it into the tire.
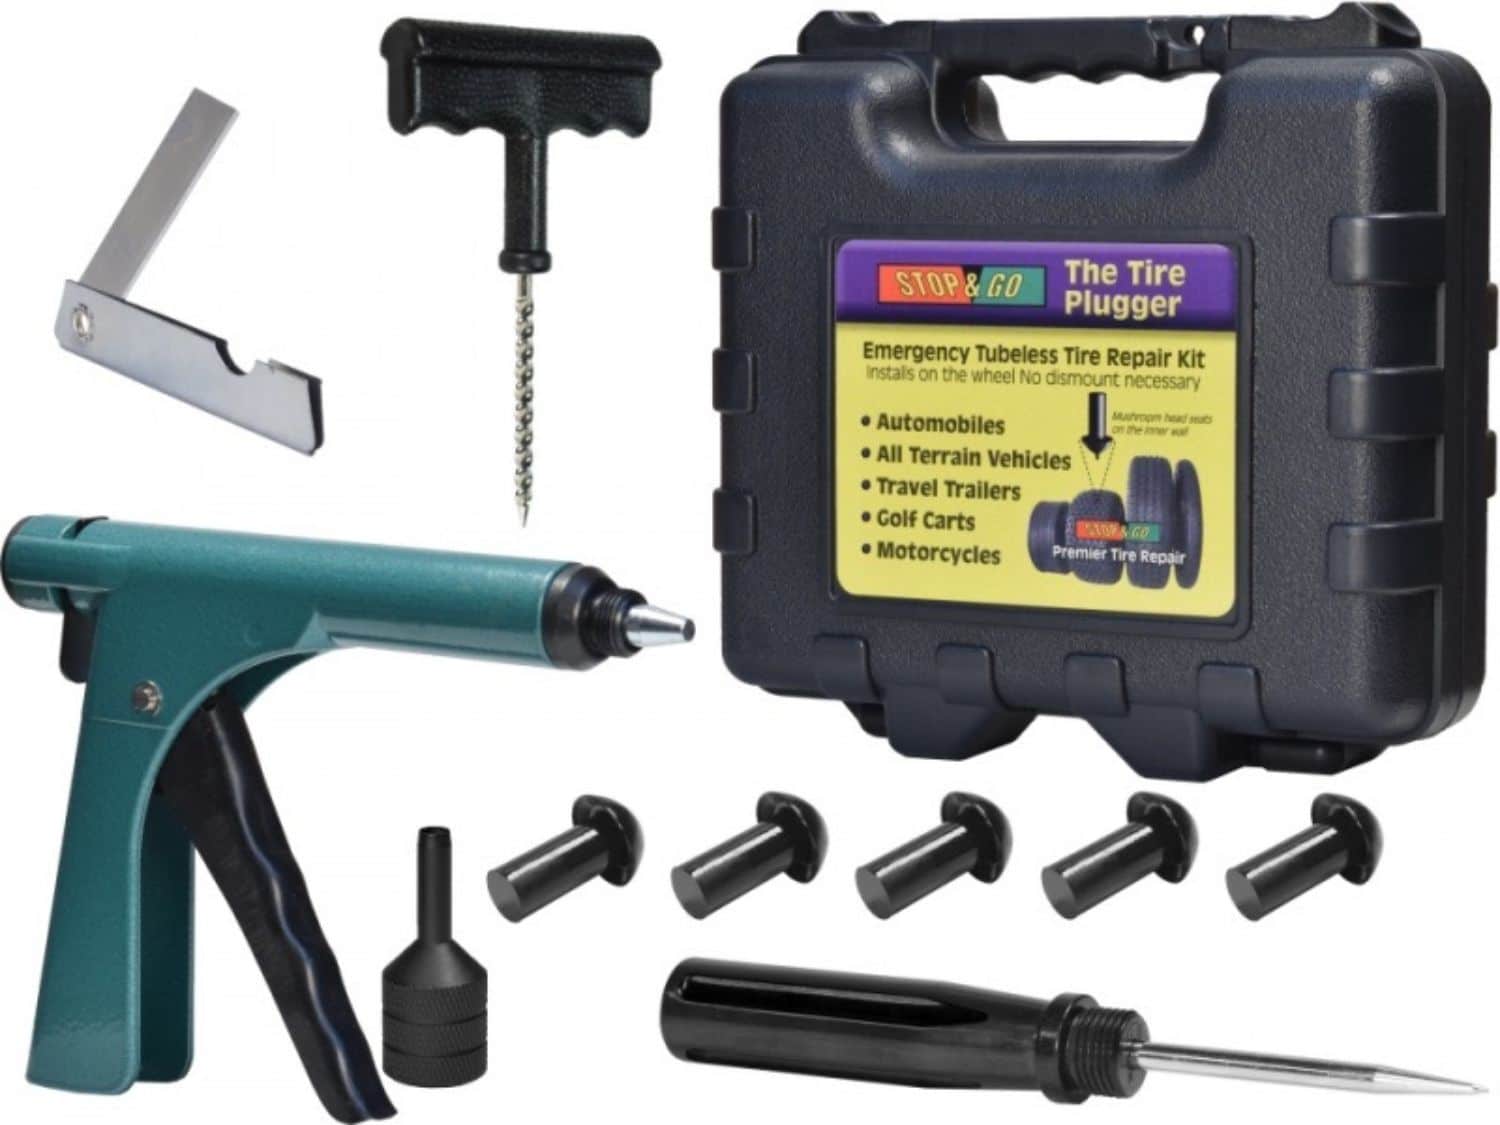
The biggest advantage of this type of patch is that it maximizes the sealing of the hole from inside the tire due to its shape. This is particularly effective for round holes, both on the top and on the side of the tire.
On the other hand, for larger-diameter holes, irregular shapes or cracks, this method becomes difficult to apply. What’s more, it takes up more storage space in the off-road vehicle.
Sidewall Slug
This is a plastic, oval-shaped patch. It’s specifically designed to repair cracks on the side of the tire.
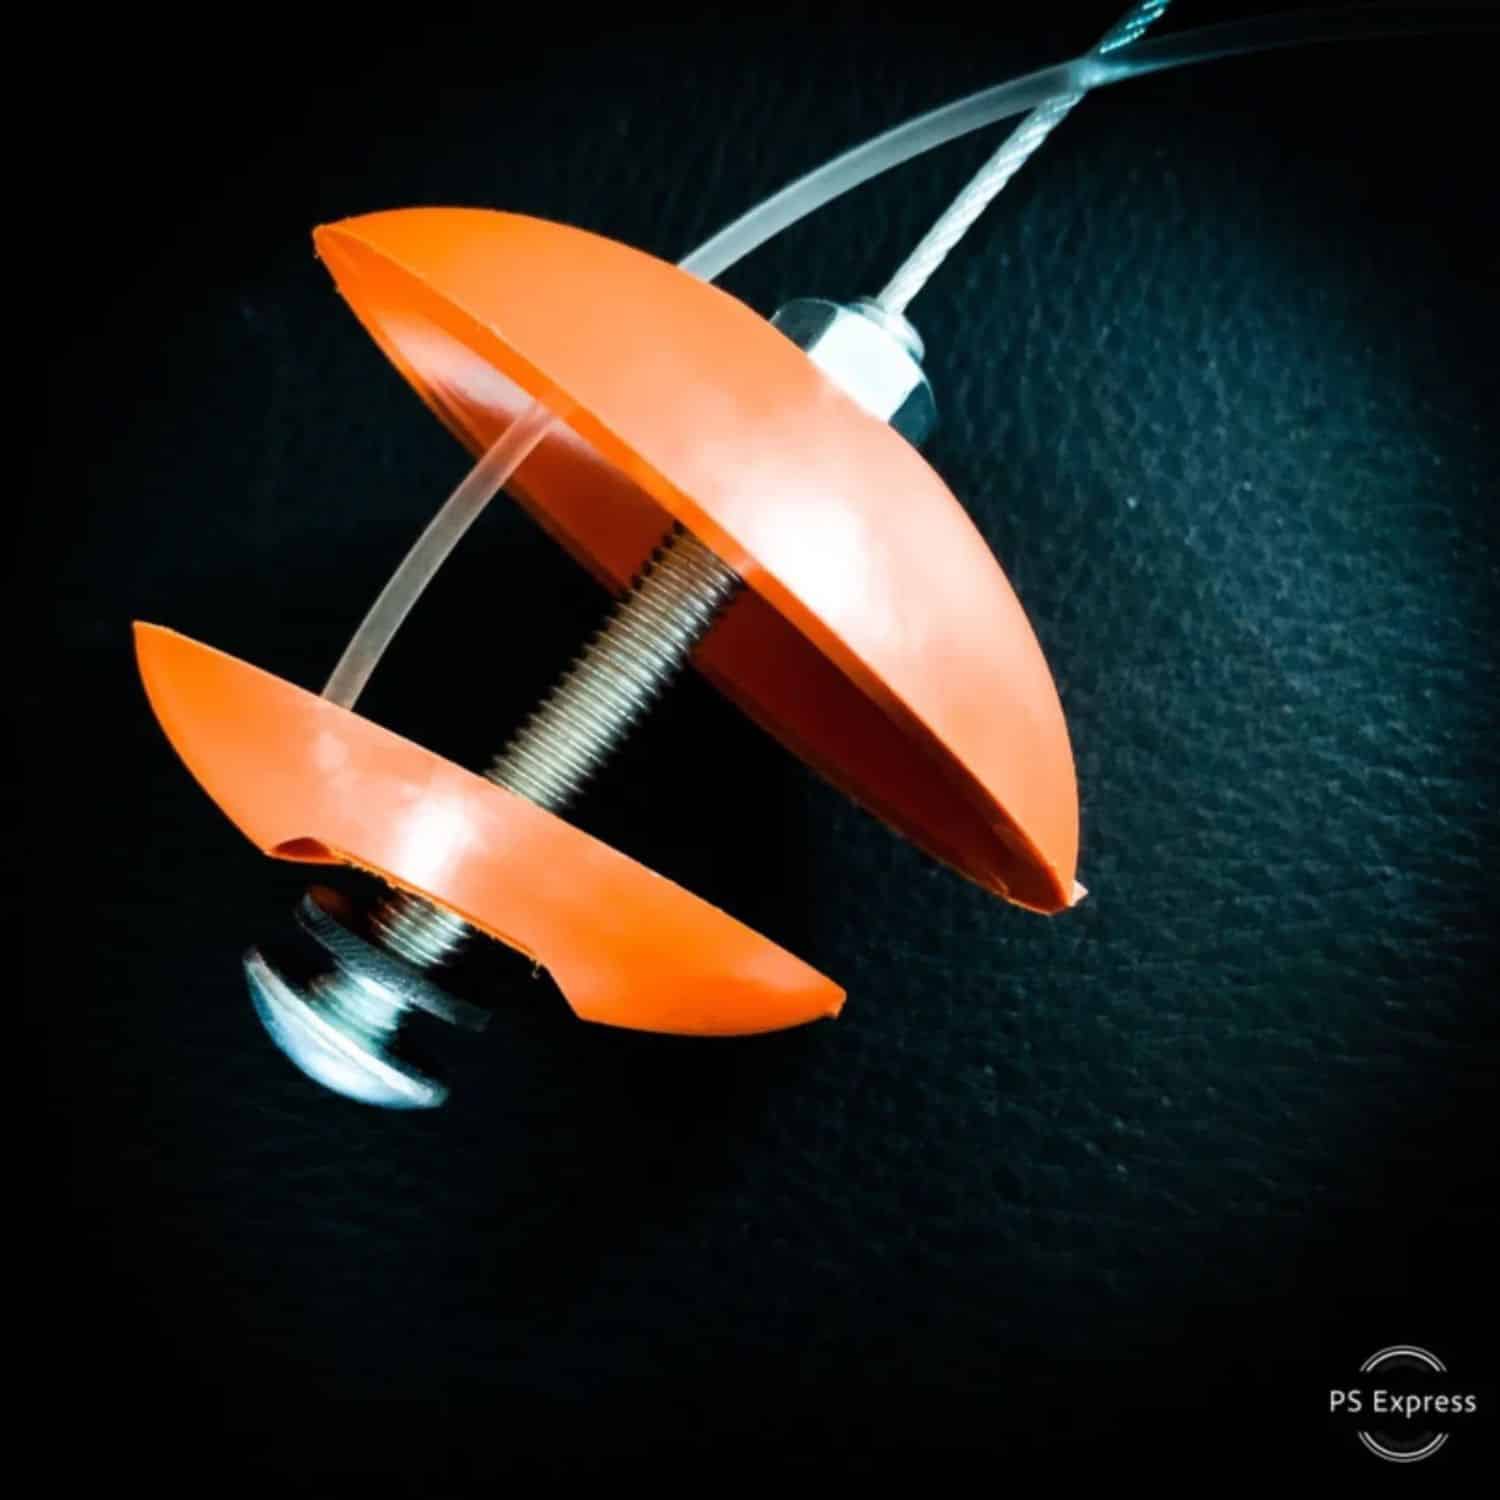
It consists of two oval-shaped pieces of plastic of two different sizes, a screw and a nut to fasten it all together, and a steel and plastic wire. The idea is to insert the small piece inside the tire, pull the wire through the hole to seat it properly and place the large piece on the screw, then tighten the whole thing with a wrench. Finally, cut the screw flush with the surface.
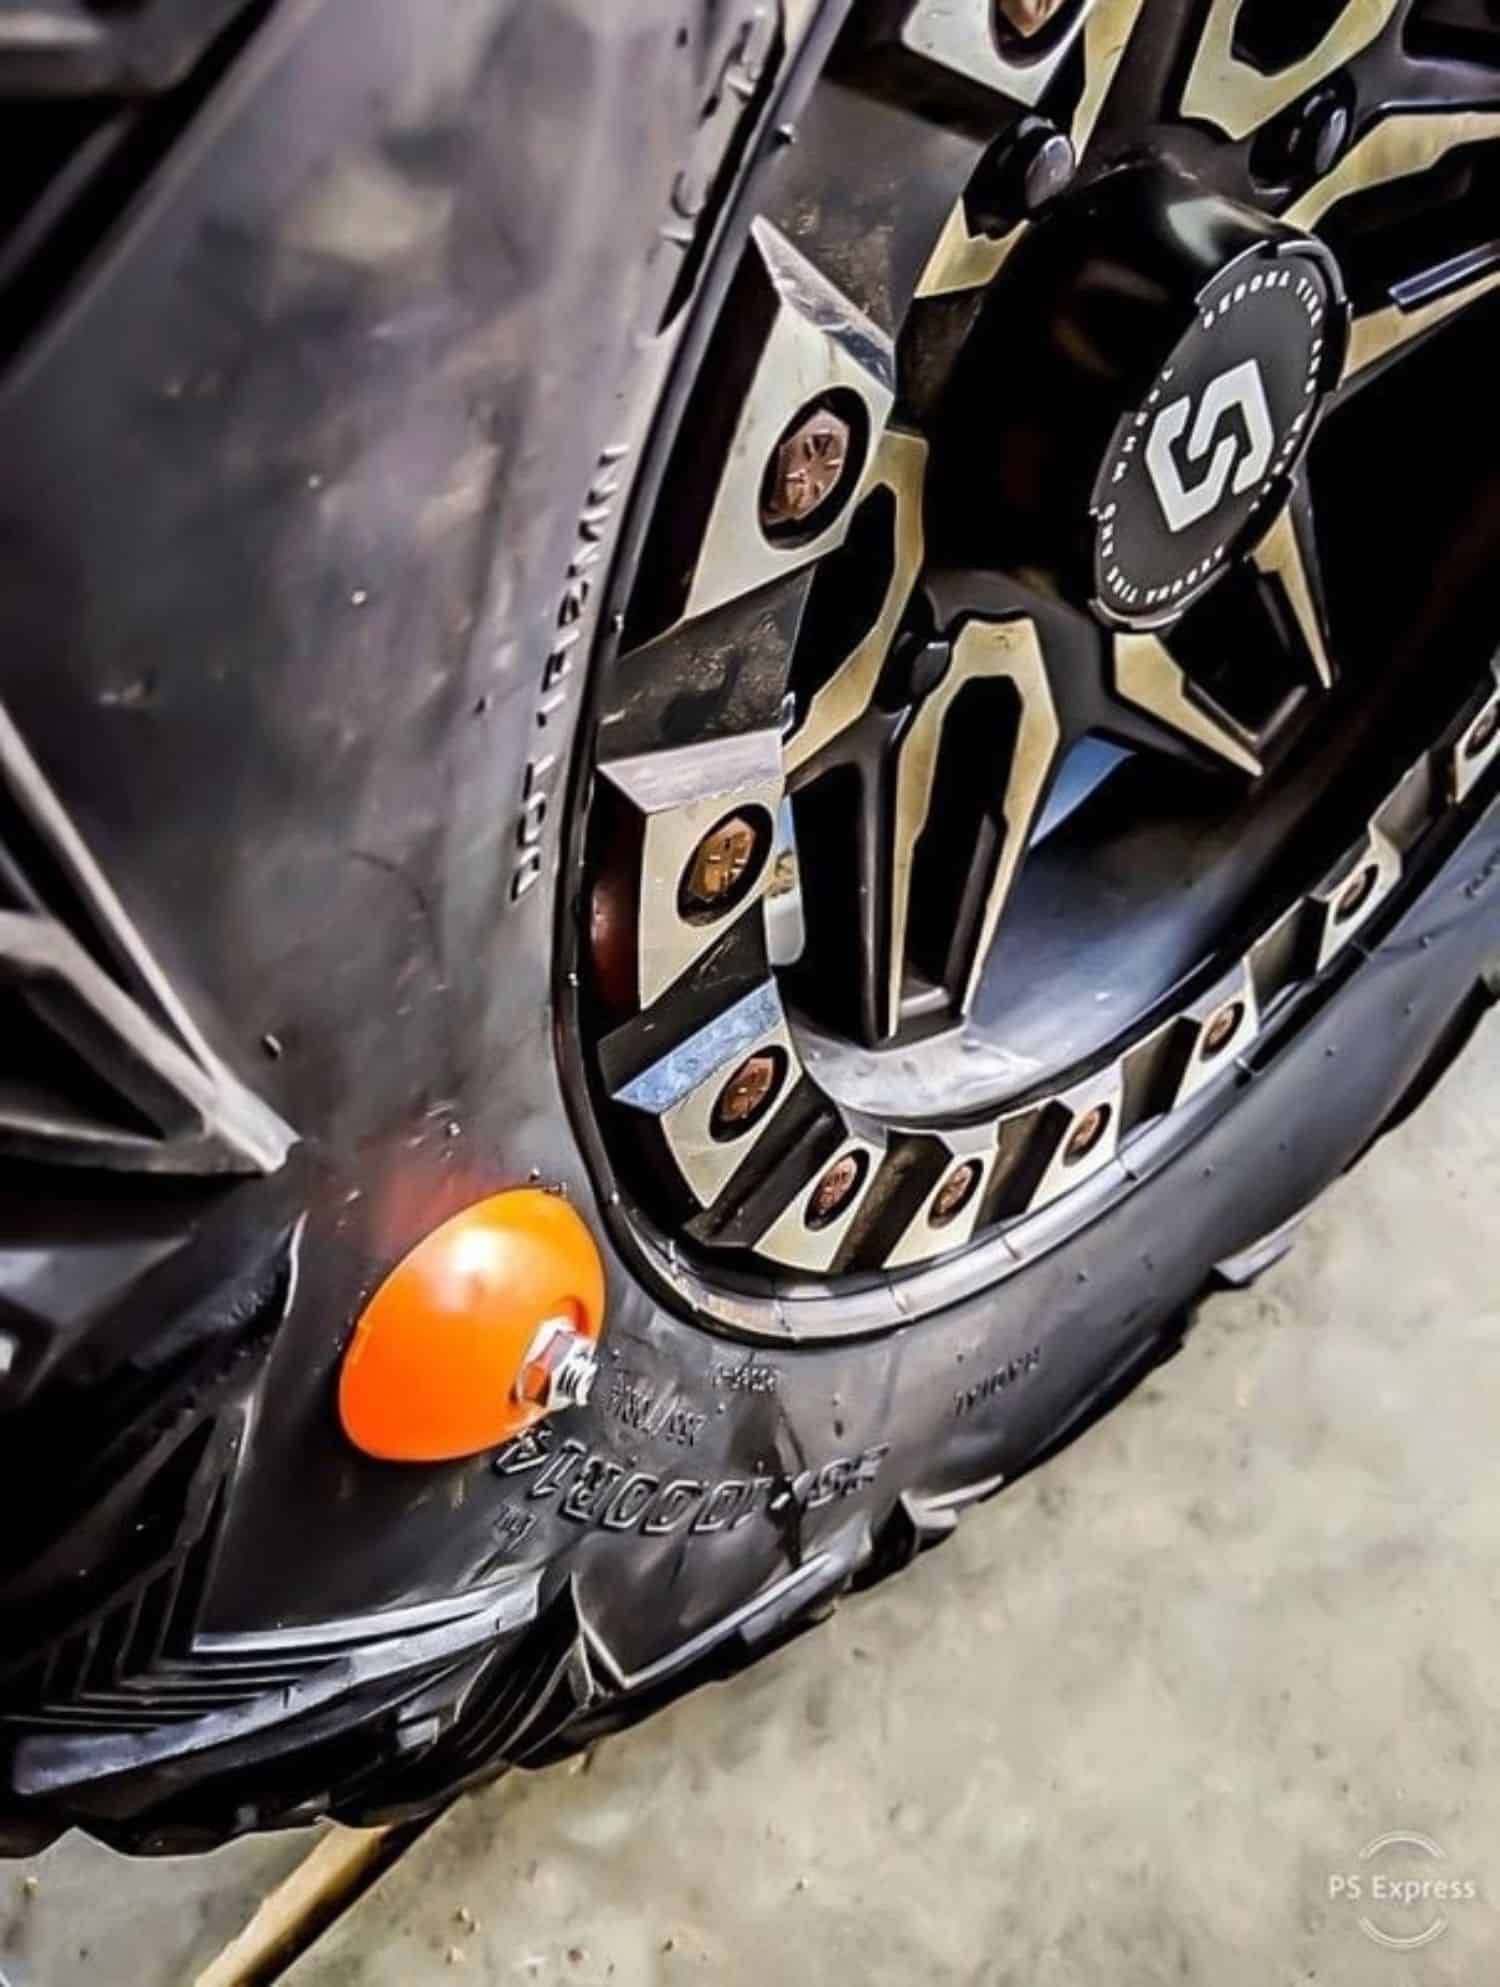
The advantage is that not only does it seal air leaks, but it also improves the strength of the surface on the puncture. However, the length of the slit must not exceed one and a half inches. What’s more, if the surface is not flat, e.g. the puncture is through the letters of the tire, it’s difficult to make it airtight unless you file and/or cut enough to make the surface uniform all around the patch. It is not designed to repair tread punctures.
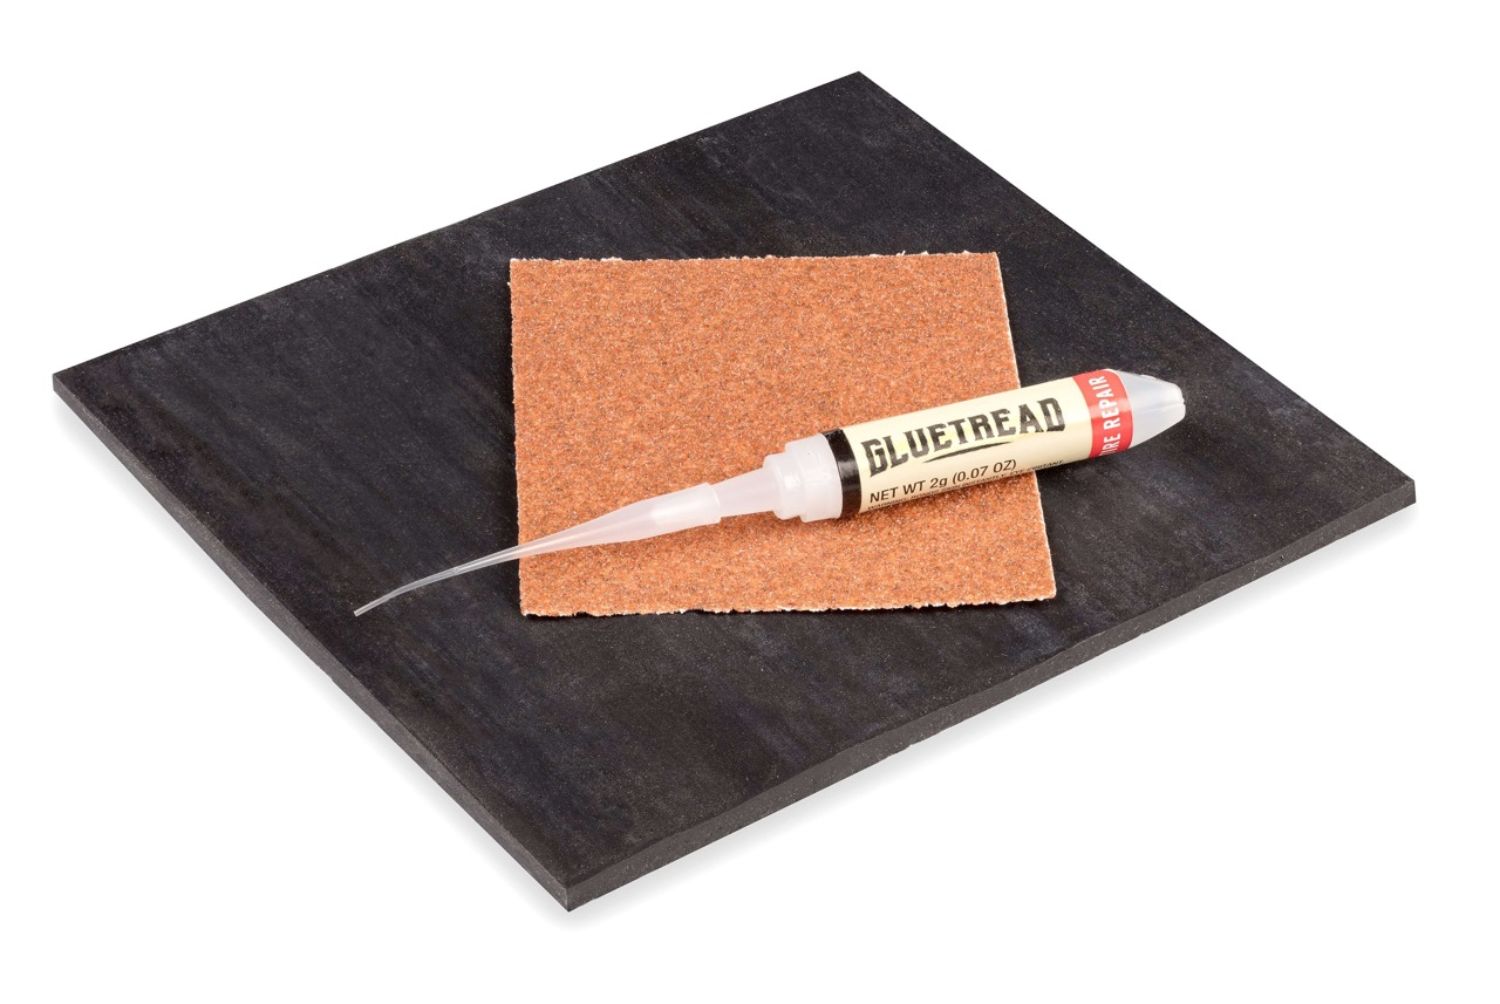
GlueTread kit
This is similar to a repair kit for bicycle inner tubes, i.e. it glues a rubber patch over the puncture. At the very least, it contains rectangular patches, glue and sandpaper. It’s also possible to buy a complete kit, containing not only the above items, but alsoCO2 cylinders and nozzles for re-inflation, plugs and tools for inserting them.
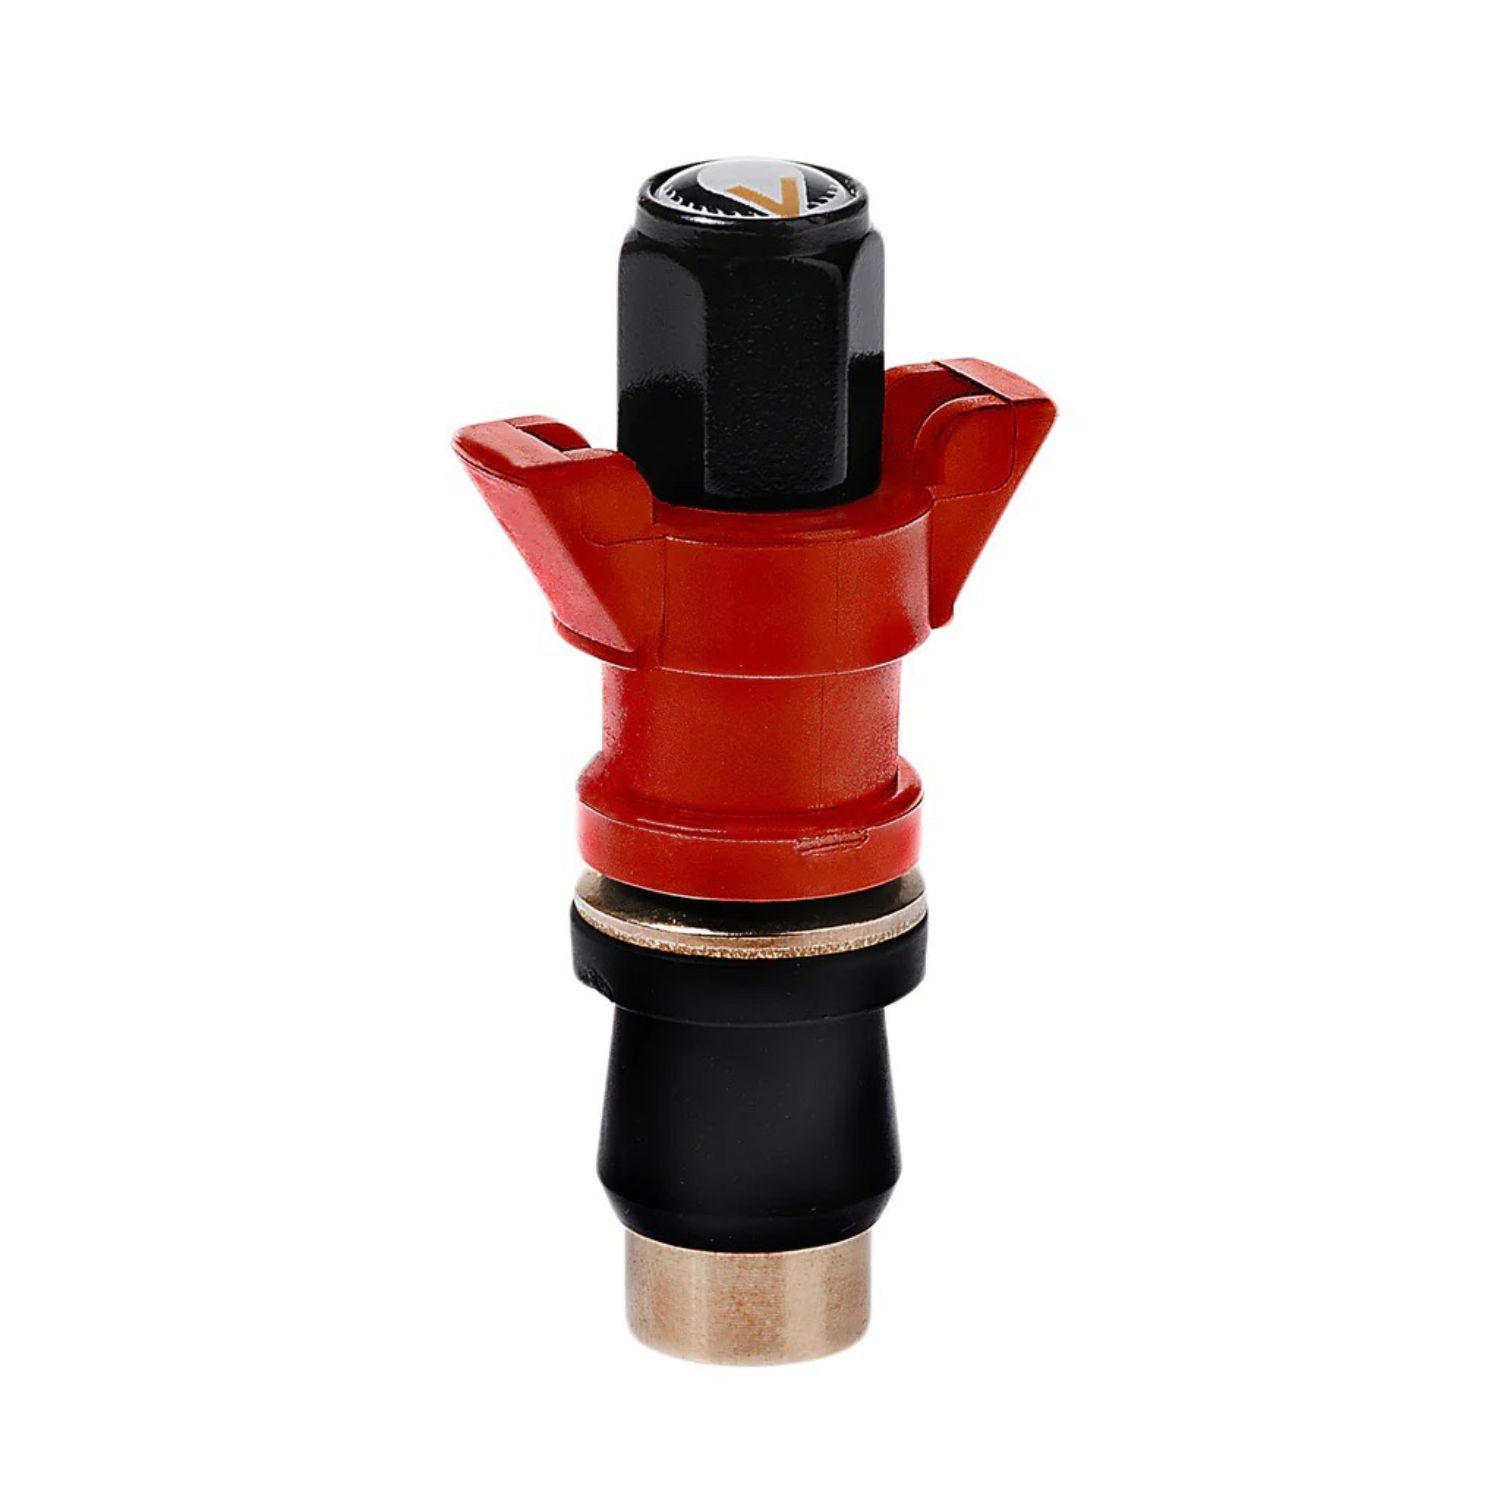
There are also kits that include a Colby valve. This replaces a defective valve by inserting it from the outside. Once inserted in the hole, you screw it in until it’s tight enough and no longer leaks air. It’s a temporary valve that gets you to your next destination.
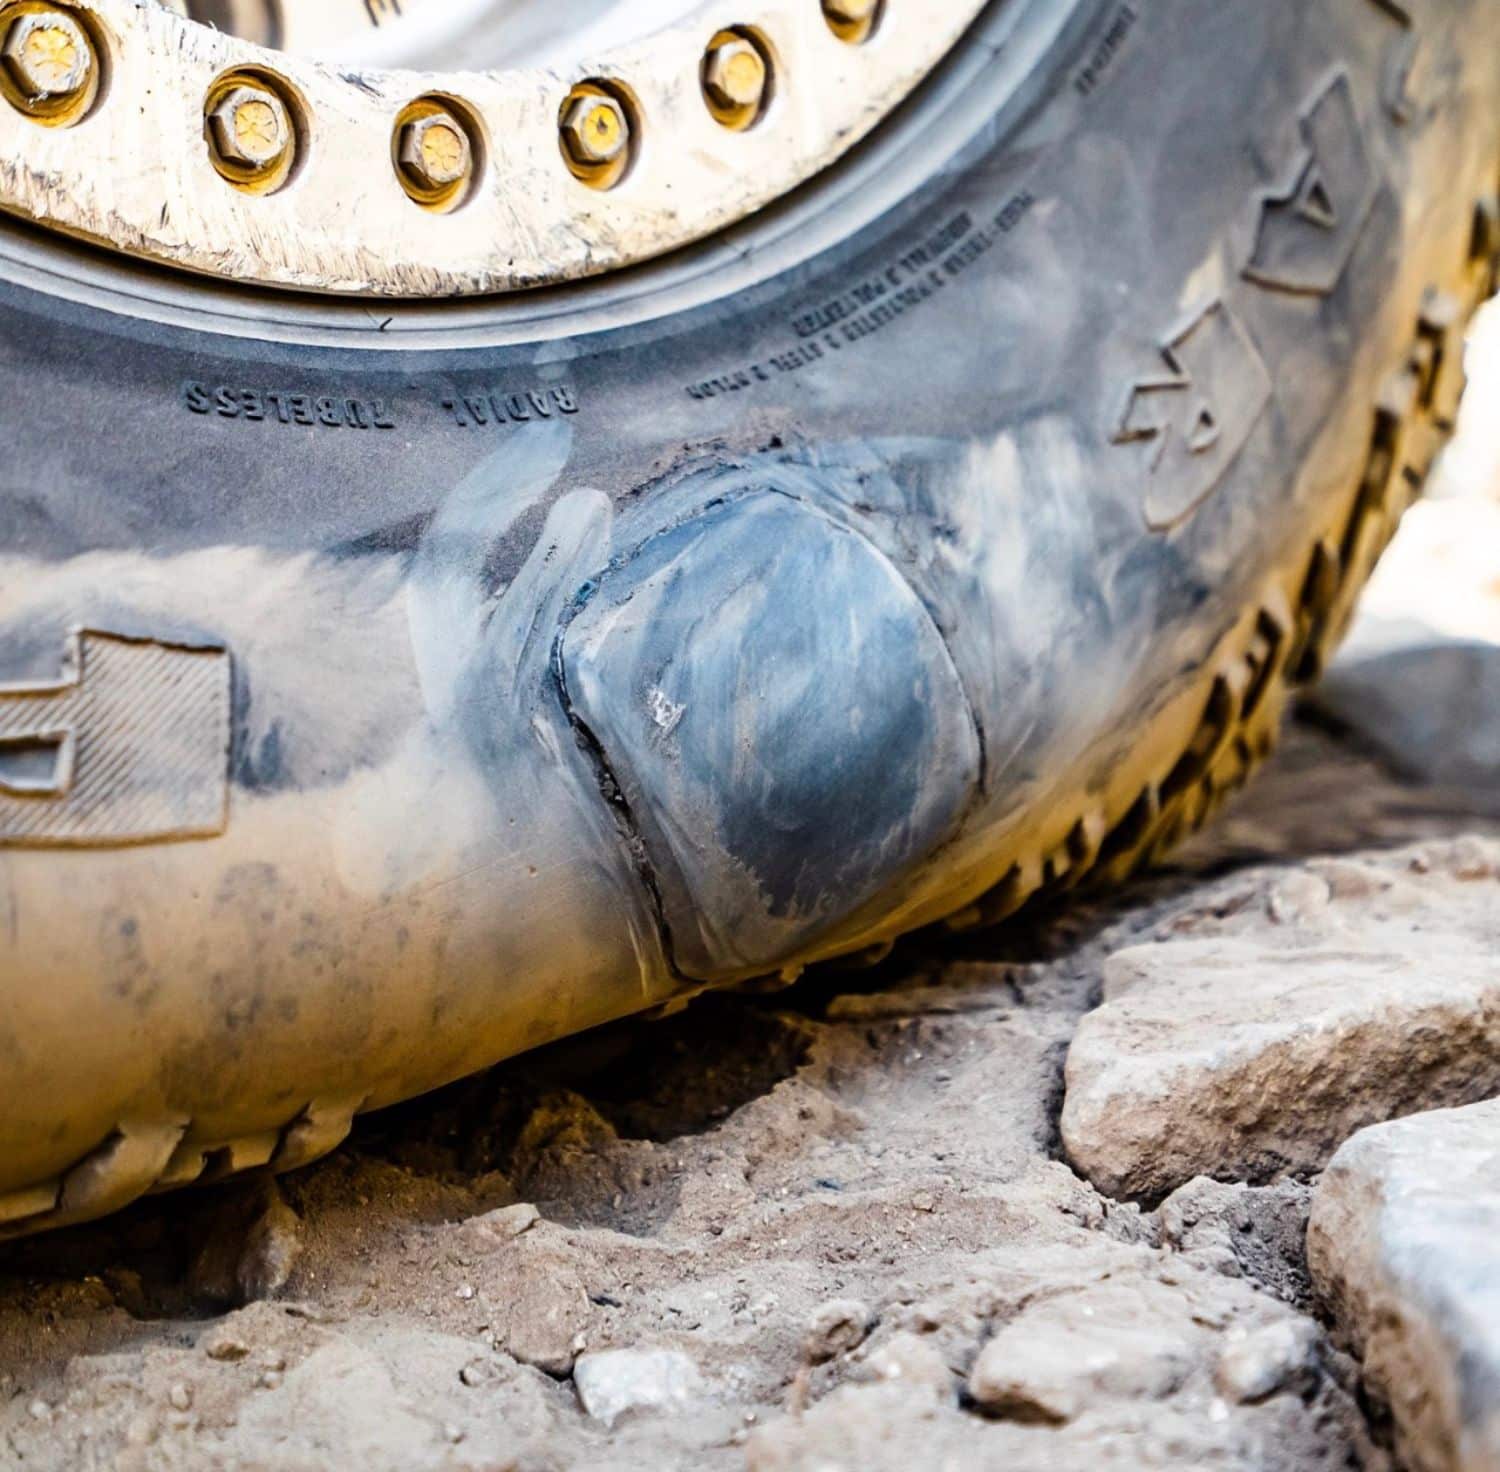
For patches, these are mainly designed for tire sidewall puncture repairs. They have the same disadvantage as the Sidewall Slug, i.e. they require a uniform surface to ensure a good grip when applying the patch. Depending on the product chosen, the curing period lasts either 10 minutes or one hour. Finally, according to the manufacturer’s specifications, they can withstand air pressure of up to 40 PSI.
That’s a rough overview of how to repair punctures that can occur on your ATV trail. If you plan ahead, you’ll be sure to come back to camp in the evening and tell your adventure as a harmless anecdote.


